Whether I’m sewing, crocheting, card making, painting, or doodling, I’m always making something here in Kamloops, B.C. Don’t forget to check out my free digitals and vintage graphics while you’re here. Enjoy your visit!
Showing posts with label Cards. Show all posts

May 2, 2025

Catching up With Cards

Hello!

The winter is finally gone and the bees are out. Here in the ‘Loops the sun is shining and the Lilacs are in full bloom. They smell wonderful out there! 

Anyway, on to some cards I’ve made recently…


These guitar cards’ strings are too fat, but I found some thinner ones that will work better for the next one. 


Note the embossing on the envelopes


This was my attempt at tone on tone. I almost did it but couldn’t resist adding the black. 


I made the watercolor backgrounds on these two cards then used diecuts on them.


Another attempt with tone on tone - - I still don’t have it quite right, but simple is hard! 


This card was an attempt to use up leftovers for the background and then add stickers and embellishments. These look great with flowers, but I don’t have a lot of realistic looking flowers so I used stickers. The butterfly and sentiment are popped up. 


Next I made these. I wanted to use flowers on a masculine card but with an industrial or steampunk feel. The diecuts worked well through the tape, which was surprising to me. I like how these turned out with the brads that look like screws. I also did up a small tag.


Unfortunately I took these pictures at night, but you get the idea.
 I love the flowers on there and think it works. Next I’ll try them with a steampunk card.

I hope all is well with everyone. Thank you for stopping by to take a peek. 

Blessings,
Carmen


Sep 13, 2024

Quick Cards and September Musings

Whenever I need some quick cards, AI art is my go to. It’s so quick and easy! But don’t worry, I still like to make up my own. 


This one I embellished with a few metal pieces out of my stash. See if you can find them.

August was a busy month, but we never did get a baby. He showed up 12 days later on September 5th. He’s a cute little guy and looks just like my son. My poor DIL went through the mill, but both mom and baby are fine. 

 I took this picture after the cards were put in to the plastic sleeves because I was in a hurry that day. I’m also showing you the inside of these. 


Well, that’s it for today. I hope you’re having a good weekend. 

Blessings,
Carmen


Sep 1, 2024

Birdy Anniversary, AI

Good morning,

Just a couple of quick shares. These first two are similar. I love the saying because it’s fairly versatile and will work for different types of cards.


This last one is a nice masculine card for almost any reason. Just because, graduation, birthdays, Father’s Day…


I think the biggest struggle with the AI images is that most of them are square, but cards are usually rectangular. I kind of struggled with this card because of that, but it’s ok.


So that’s it for today. When I print these off I use standard paper on high quality, but I put cardstock in the printer. That seems to work best for me. If I use glossy or photo paper, the print doesn’t show up as well. Idk if that’s just my printer, but that’s what I have to do to get a good quality printout. 

Thanks for stopping by,

Carmen

Aug 16, 2024

Baby Cards using AI

Good morning,

As promised, I’m back to share some baby cards. My son and DIL are having a baby this month, so I made some baby shower cards. These are AI images off a site on FB. 

The wonderful thing about these images is that you can make them any size you want. Many of these sites offer individual pieces that match the original image, as I’ve shown here. Note the envelopes. 


I added some diecut greetings, some brads and some background papers to complete these. 

Thanks for stopping by,

Hope your day is amazing,

Carmen


Aug 12, 2024

Lighthouses, Wonky Trees and the Birds

Good morning,

I’m bringing you some more cards made with AI images. They’re quick, easy and fun to make and great for gift giving.

While I get some of my images from free printable sites on FB, I got these lighthouse images from a program called Playground and they’re downloadable. These I embellished with dried starfish and hemp rope. 


These came from a free printable site on FB. I just loved these wonky colourful trees and thought they’d be great for my notecard sets. I embellished these with brads and that’s it. 


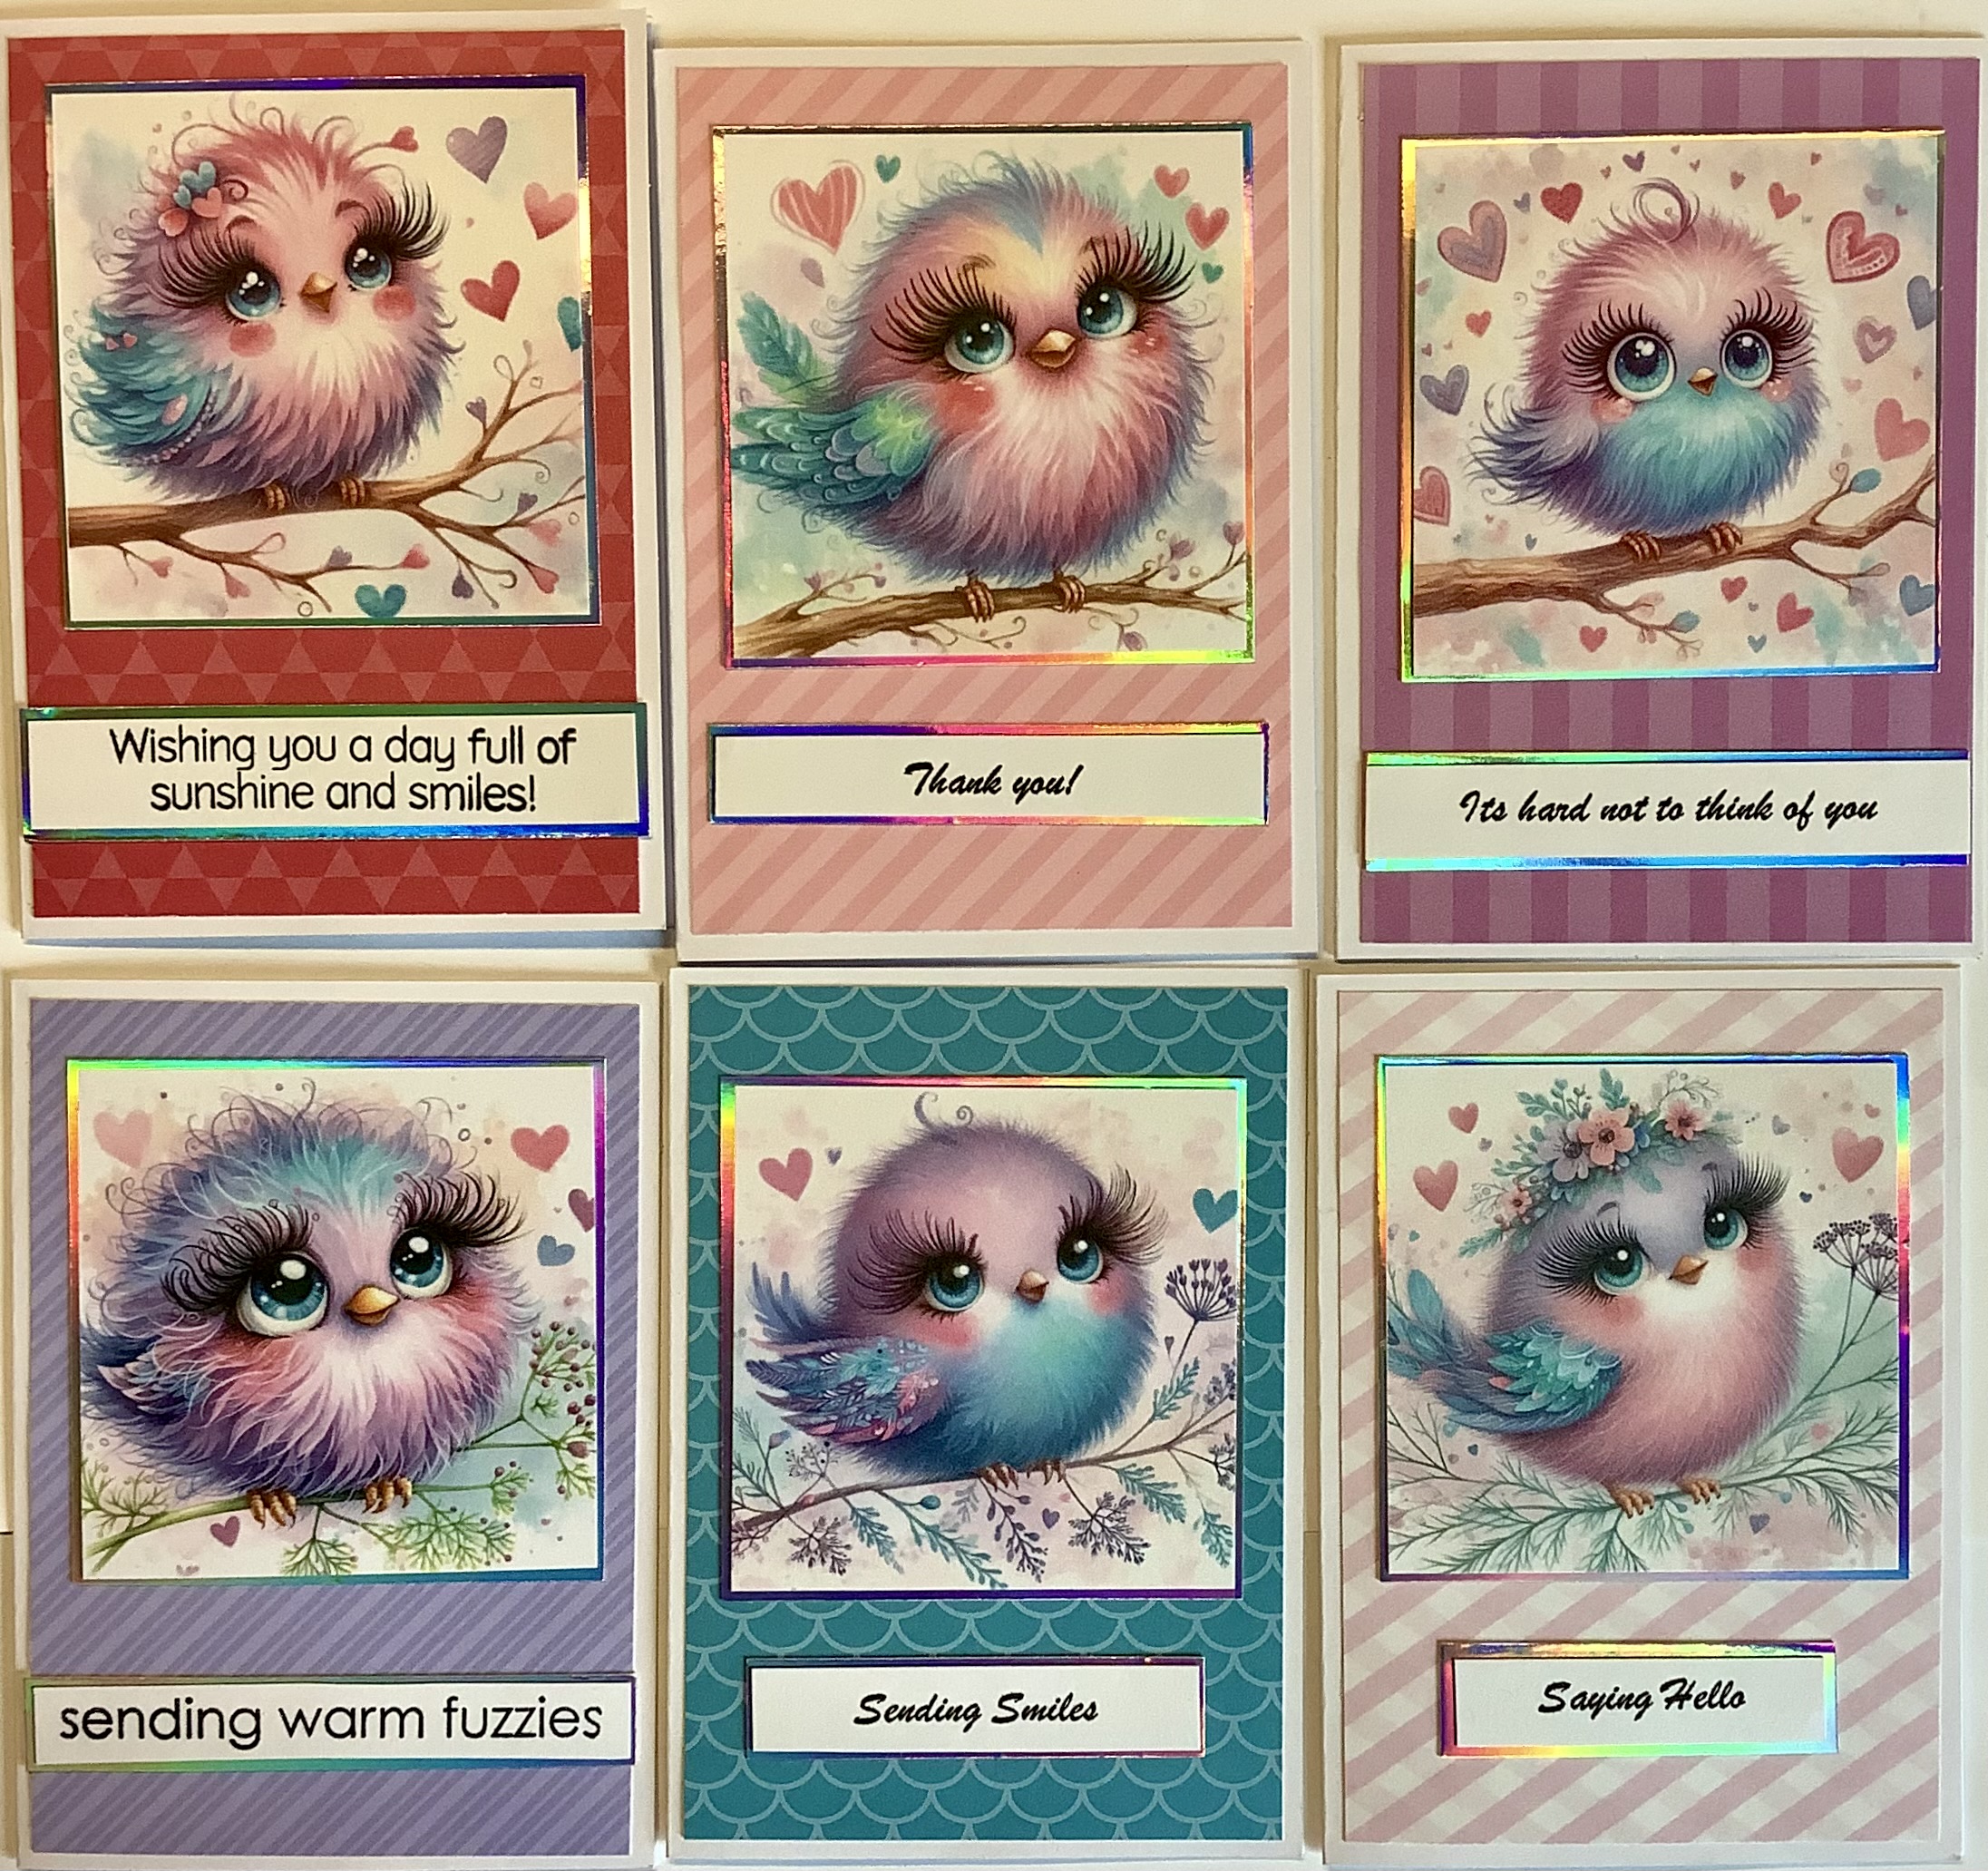
The next cards are birds. Again, AI images off FB. I love the first set and made them for one of my granddaughters to give away to her friends, teacher, etc. Very simple, and aren’t they super cute?


Then these ones I plan on giving to my DIL who loves cows and chickens. She had a pet cow growing up. I think it was like a big dog, only it stayed outside. They have chickens now. It started with 2 chickens, but I believe there’s about 20 or 30 now. Oh, and two feral cats for the empty buildings to keep the mouse population at bay —-and two goats. 

I found some old papers to back these onto: mesh paper and some texture papers. These you just wet and pull and they leave soft little fibers behind. Can’t think of what it’s called. Talk about old school cardmaking. 


Ok, so I think that’s it for today. I have some baby cards coming up in the next post. 

See you next post,
Blessings,
Carmen


Aug 9, 2024

Aliexpress Paper Notecards

Good morning,

I decided to try out Aliexpress for scrapbook pads and a few other things. These two sets of cards were made using the pads I received. They were actually unattached papers, not pads, and not cardstock quality, but still nice.

I used them for my notecard sets, 4 in each set. I used metal brads, metal embellishments and some hemp cord. The greetings were computer generated. 


I needed a bridal shower card and I had some umbrella diecuts which came in perfectly for this card. The hearts were hand drawn and cut. 


All in all a fairly quick card. Very bridal shower-y as well. 

Well, that’s it for today. 

Thanks for popping by!
Blessings
Carmen


Aug 3, 2024

Garden House and AI Sailboat Cards

Good morning! 

I’ve been MIA for quite a while lately, but it’s not for lack of creating. 

August is a particularly busy month for us this year as we have a funeral (my sweet father in law), a 65th birthday, a wedding and a new baby!! Life tends to be like that doesn’t it? It’s all or nothing. lol. 

I’m sharing some more notecards. I give them out as thank you’s, just because, etc. These ones are made with Stamperia Garden House papers. 


These are AI images that I got off a site on FB. These are incredibly easy cards to make and lend themselves so easily to notecards. Sometimes I’ll put a smaller picture on the inside. That’s the beauty of these images —- you can resize them. I embellished these with knots made of a thin hemp cord (illustration of how-to below).


More AI images. I embellished these with starfish and brads.


Stay positive and appreciate the good things in life! 
Blessings,
Carmen


Apr 23, 2024

Antique Rust

Hello there, 

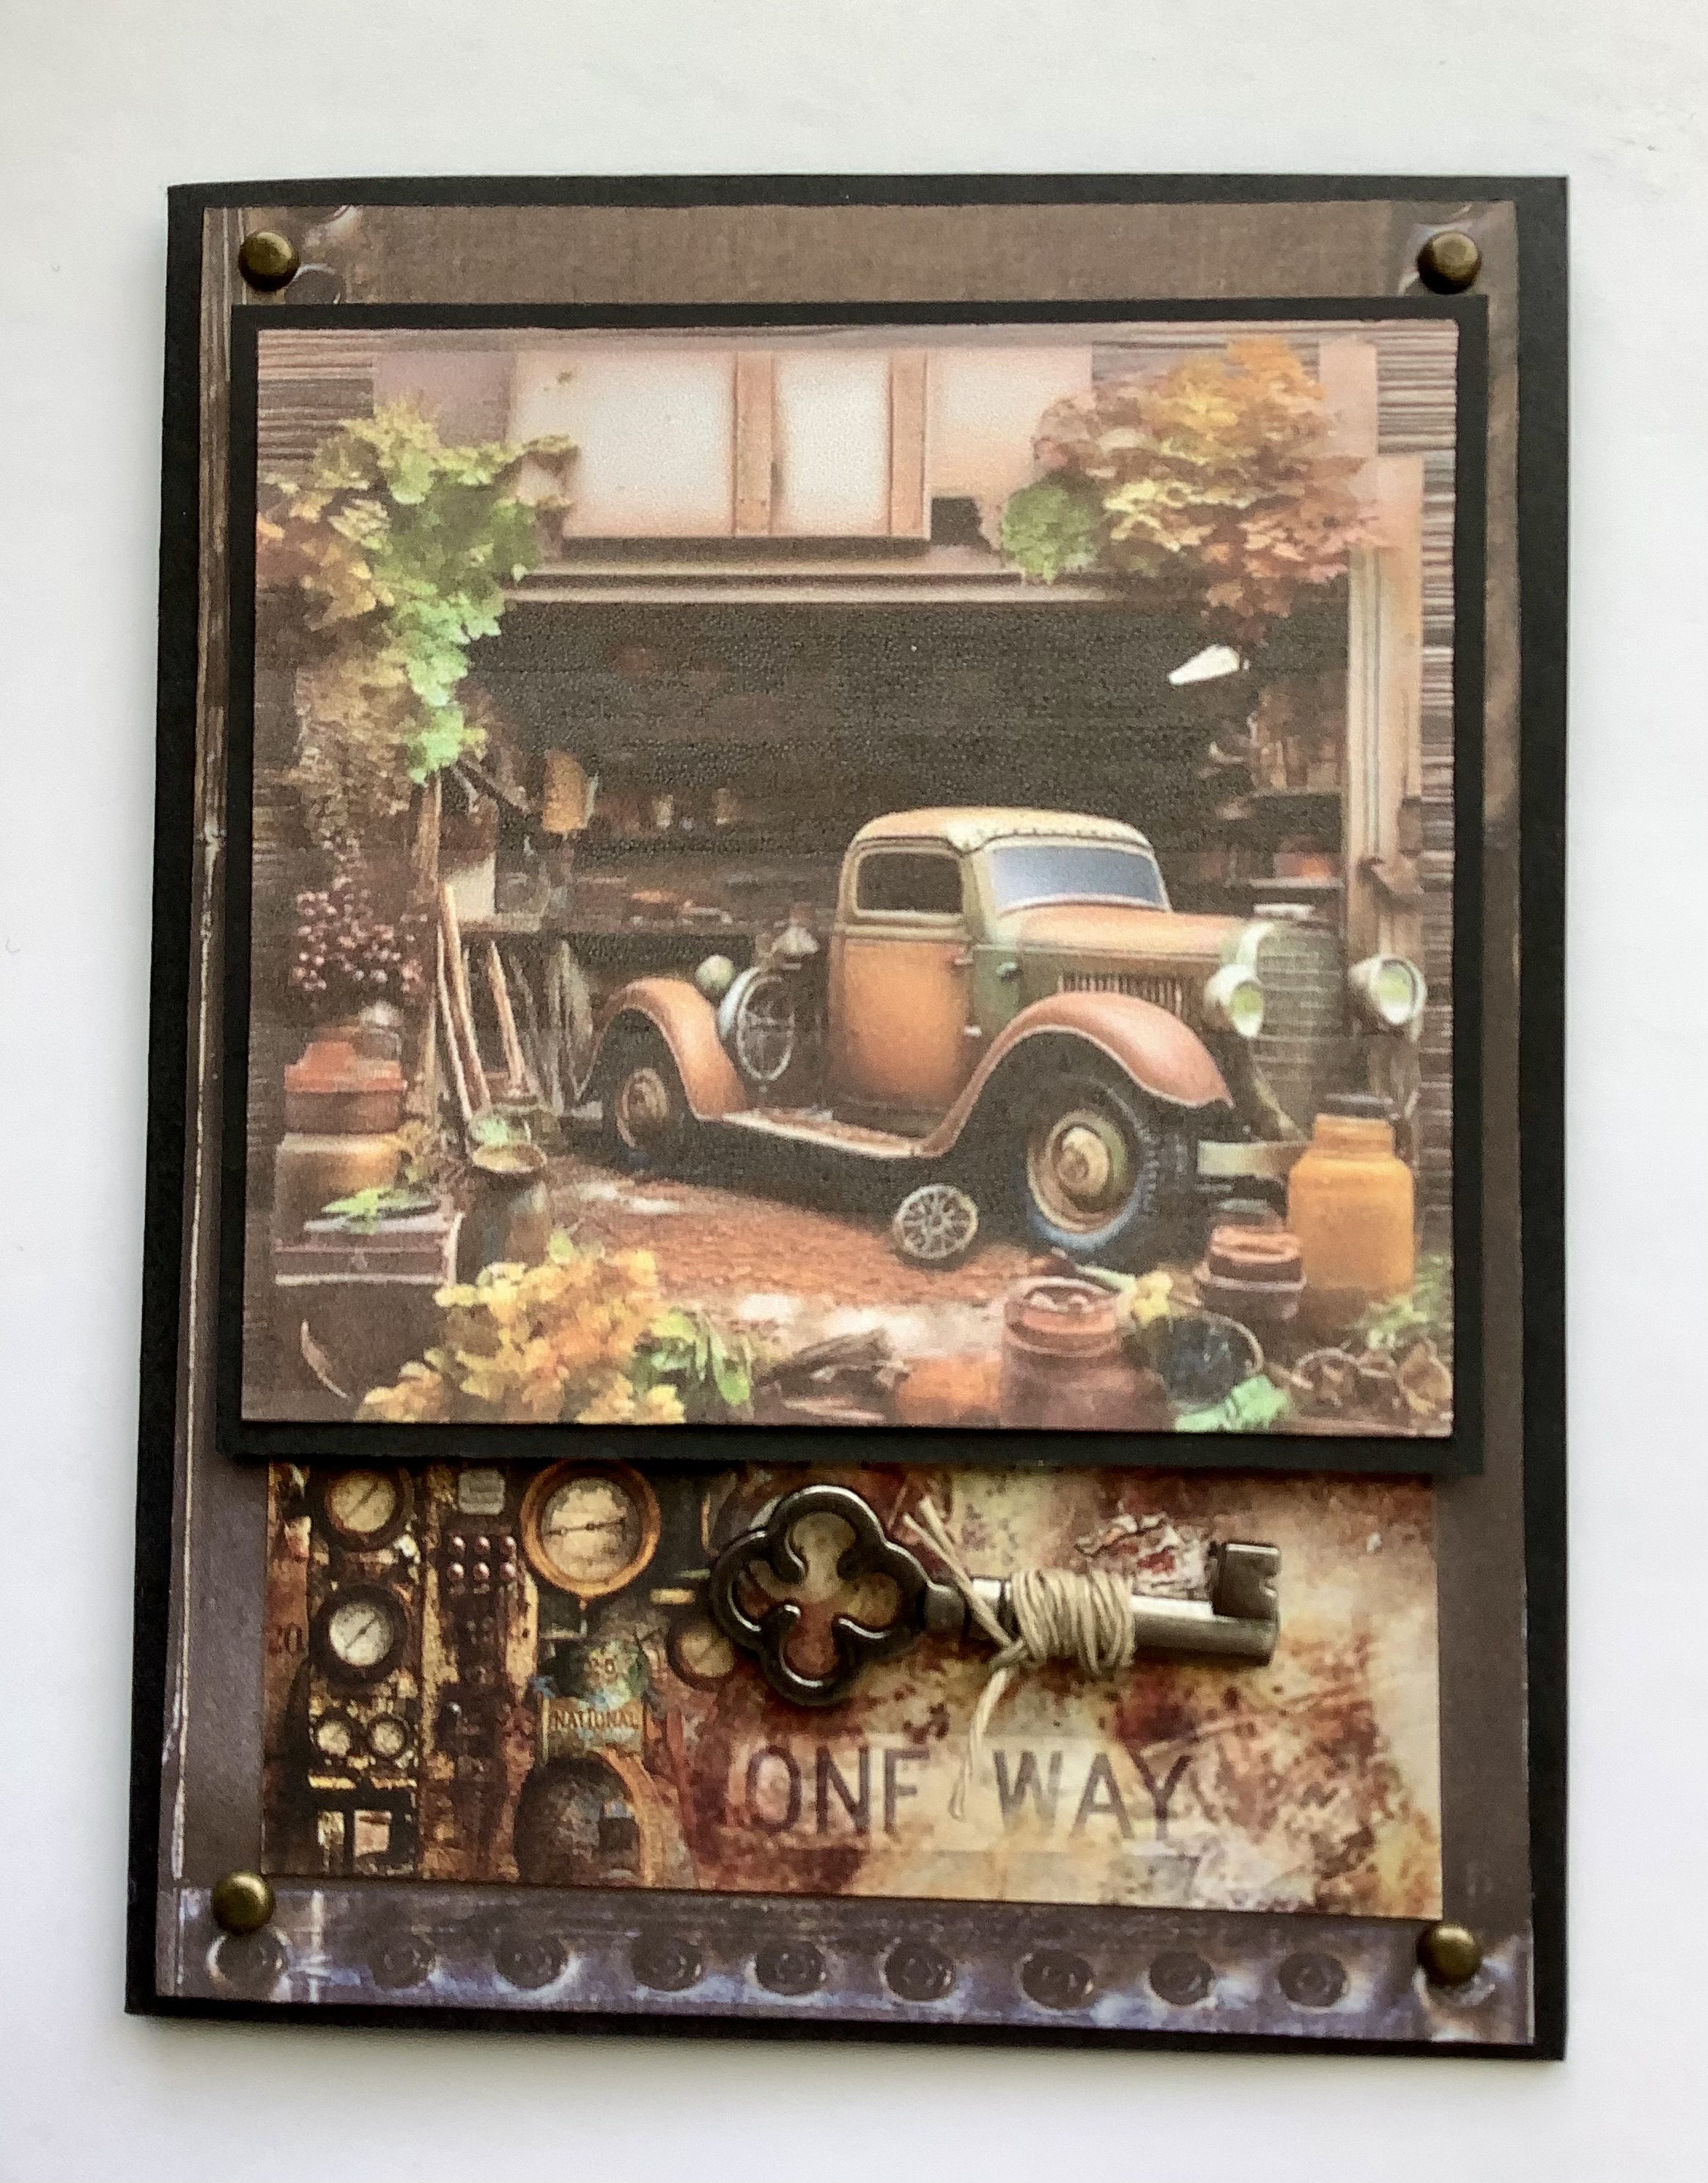
Today I thought I’d share a little bit of my card making process. The images I’m using came from Playground, an online image generator. First I will share the completed cards. 


First I ran them off on the printer and cut them to size.

Next I backed them with black cardstock that was about a 1/4” larger around the perimeter of the image. (See below)

Then I picked out some papers that complimented the images. 


As you can see, I used studded metal-look paper I had in my stash. (You can see the main images backed with cardstock). I always look for paper elements I can use on the card front. In this case, the clock, some brick paper, license numbers, rusty panels, tags, etc. Some of the paper is Ciao Bella’s Collateral Rust. I wish I could get more of it in Canada at a reasonable price! 

Once I’ve figured out which of those I want to use and where, then I look for other elements I can add to bring interest. These are some of the items I pulled out. 


I have metal brads, cork ribbon, jute cord, loosely woven canvas, metal keys and fans, etc. In this case I added brads to each card, keys to two cards, a spinner to two cards and some jute to a tag and the keys, and some cork ribbon.

Once I’ve decided what to use, I start to add adhesive to each section. In the example below, I have the background of the card front with brads added to each corner, and a paper element adhered in place. On the paper element is a key which I’ve wrapped in jute and adhered in place with red embellishment tape. To the left is the back of the main image with foam tape added to bring some height. 


Here is the finished card top with the raised image in place. 


Now that the front is done, we can adhere the already prepped card front onto the card base. 


But I’m not done yet. Next comes the inside. This needs to be plain enough that you can write on it. I tend to use a piece of designer paper that either matches or compliments the background of the front of the card. Then I add plain cardstock on top. Sometimes I further embellish with paper elements on the left side of the open card. 

I often sign the back of the card with my initials. Now I’m done. 

I hope that was easy to understand. One of the pictures was a bit fuzzy so I went ahead without it. If you have any questions, please ask below. The finished card was 4 1/4” x 5 1/2”.

Thanks for stopping by. 

Blessings,
Carmen

Apr 21, 2024

Quick Cards: Perfume and Roses

Good morning,

Just a quickie post. I used Stamperia papers for these. When making quick cards, the type of papers you use are key.


Each are embellished a little differently. From Nuvo drops, to jute cord, mesh, brads and adding other paper elements. The choices are fun and varied. You can add a sentiment, or like me, leave them off so they can be used for any occasion. 


I rarely show the inside of my cards, but I always usually do something with it. For these quick cards I matched up the outside with the insides, fussy cutting some smaller paper elements and taping them on. The right side is left blank for writing. 

Thanks for stopping by! 
Blessings,
C~

Apr 10, 2024

Pocket cards and Notecards

Good morning,

What do you bring when you’re invited to dinner? I used to bring flowers. As time went on the flowers turned into a bottle of wine. Lately I’ve been thinking about that and while talking to a friend she gave me a great idea. Why not give a pack of handmade notecards? So I’ve set about to do just that. 

This set was made using images from Etsy. The shop name is DreamCafeArt. 


I used my Cuttlebug to add dimension to the cards. Then decorated them with blue crystals and silver cord. The sentiments are rub ons and they’ve been raised with foam tape. On the inside I took opaque vellum and added dimension with the cuttlebug. It adds some charm. The inside is blank for writing on. 


I packaged the set of four in a clear card envelope and placed a ribbon and a charm (not pictured) around it for gift giving. 

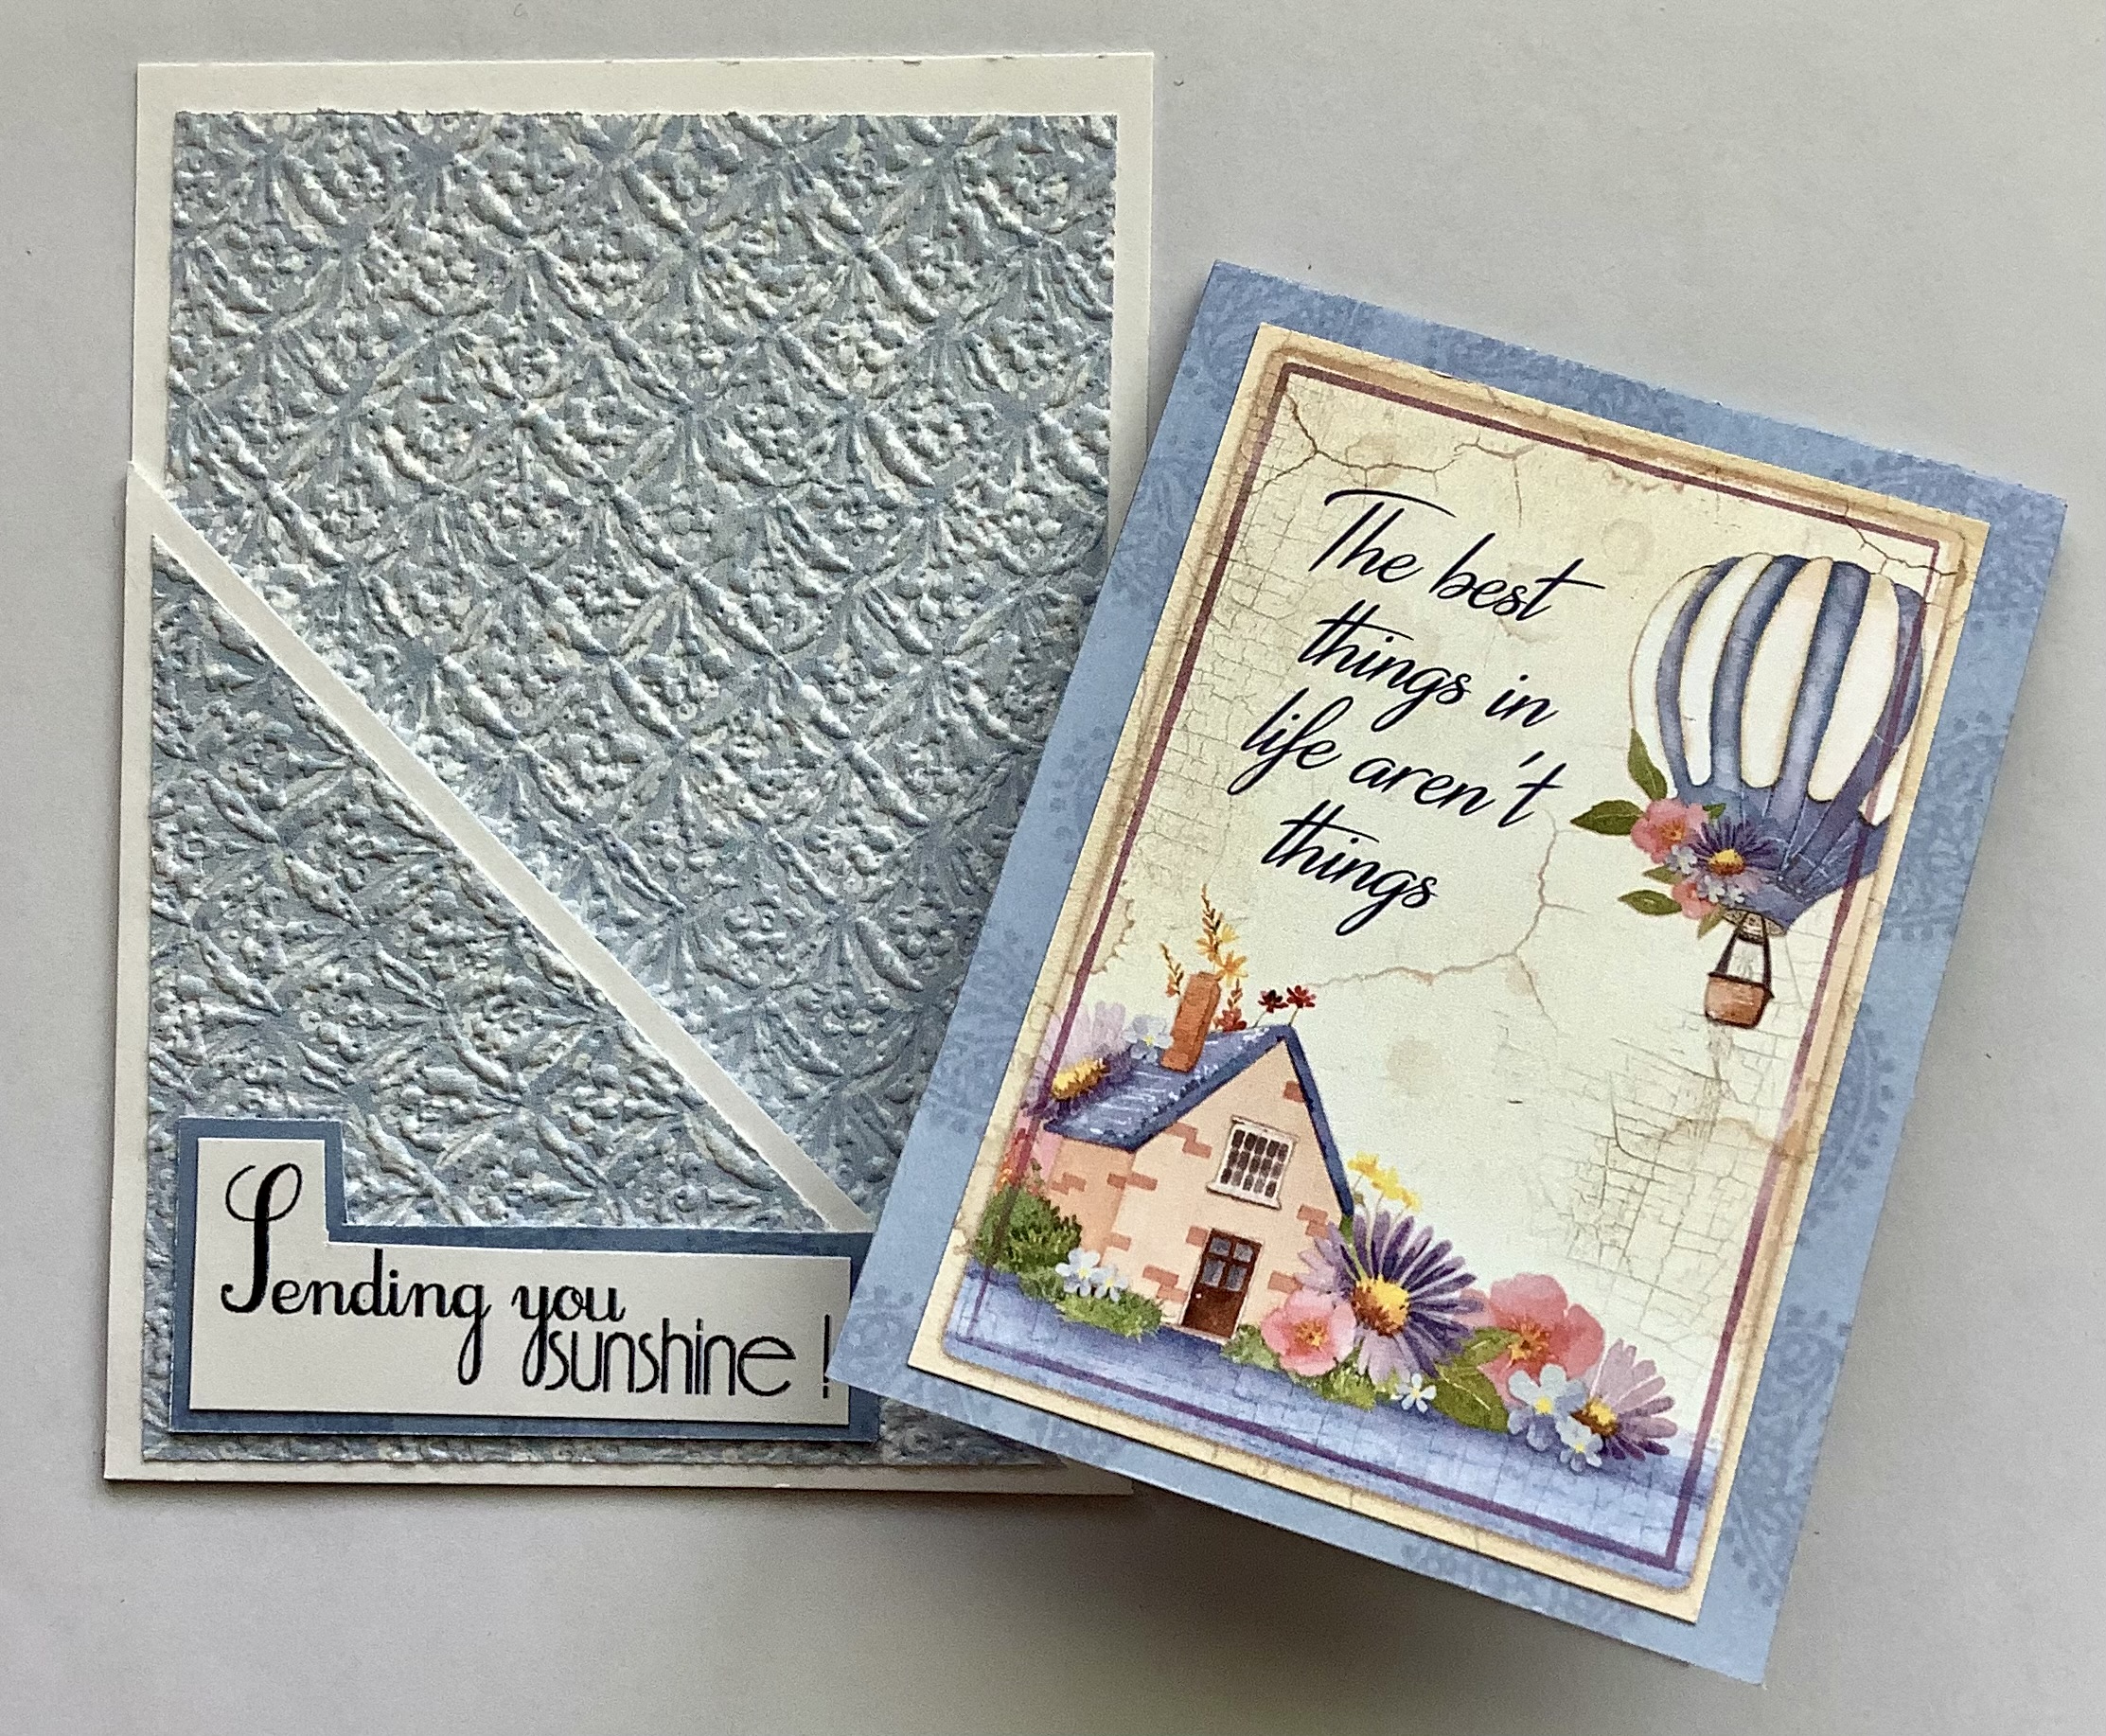
On this next one I used the Stamperia Provence 8” paperpad. The notecards are all 3.5x5”


These also went into a clear envelopes as a set of 4. A bit of lace finished it off. This picture doesn’t show it, but I added a metal charm to the bow in place of the tag. I might change up the lace too. 


This is a set of two cards. I can’t remember which paperpad I used, but it is from Stamperia. I embellished these two with brads and that sticky trellis ribbon. I might keep these to give away individually. 


Next, I have some pocket cards. These were just kind of fun to make. I only made sets of two so far. I used papers I had in my stash.


These are not notecards as they do not open. The insert comes out and opens up to write on. These last two pictures were taken on a cloudy day. 


These went into a clear envelope for gift giving as well. I added a wooden embellishment to the front of the envelope. 


There are two pocket cards in this package as well, both are get well wishes made with papers in my stash, with a packet of tea in the pocket. I used notecards for these so you can open it up and write inside. The outside is embellished with a wooden butterfly. 


That’s it for today! 

What a great idea for gift giving. My friend at ‘The Beaded Lime’ is so talented and full of great ideas. You should check her out on Instagram.

Thanks for stopping by!
Blessings
C~