Whether I’m sewing, crocheting, card making, painting, or doodling, I’m always making something here in Kamloops, B.C. Don’t forget to check out my free digitals and vintage graphics while you’re here. Enjoy your visit!
Showing posts with label for kids. Show all posts

Nov 1, 2024

I made a little booklet today…

Hi there,

One of my granddaughters is having a birthday rather soon - - she will be one year old. Her little cousin is almost three and they both live in the frozen north (Fort McMurray, Alberta). Since I’m making some peek a boo dolls, I decided to make a couple for the one year old for her birthday, but didn’t want to leave the three year old with nothing (since they’re often at my sons place together.)


So - - - 
I made a little book. 

This was made with one piece of 12 x 12 cardstock, and filled with various papers. I included a bunch of stickers I just bought online, and a few other things. 


That’s the front- kind of plain but it’s for a three year old so best not to 
put a bunch of stuff on there she could potentially choke on. 


The stickers went into a ziploc bag and into the front pocket. 


The digital image behind the paper can be traced onto the tracing paper. 
Then she can color the actual image if she wants to. 

Two of the pages flip out. I used washi tape to do that. 


This is the same idea as the tracing paper, except now it’s texture I’m featuring. 
She can take a crayon and color over it to get the grid to show through. 


I didn’t photograph them all, but there are various stickers throughout the journal,
And I’ve included some other papers as well. Plus she can stick her other stickers into the booklet. 

It’s really just a little thing, but hopefully she likes it. I usually add a little snack too. 

I completely forgot to take a photo of the spine, but I got the idea from this YouTube video by Treasure Books. These are mostly journals for adults, but I downsized it for little hands. 

Hope you enjoyed! Thanks for the visit!
Blessings,
Carmen

“The blessing of the Lord enriches, and He adds no sorrow with it” Proverbs 10:22

Dec 18, 2023

Little Gifts in Little Booties

I was scrolling on Instagram and found the cutest little containers for little gifts or candies. The best part was that it was cheap to make and so easy! The original post was made by Maria Bauer, and I’ll post her profile link below. I’m going to show you the ones I made first. 


Cute, right? Little booties with little gifts! I love them! I’ll show you how they’re made.

Supplies:
Paper cups 
Napkins
Tape
Glue
Cardstock 
Scissors
Ribbon

You’ll notice I had to cut my cups down an inch or so. I could only find tall paper cups at the dollar store. 


I opted to make little bottoms for my boots. These were made by tracing the bottom of the cup, and adding a little loop at the front. This is for the toe part of the boot. This is also an optional step. It will work without a sole. I beaded a bit of glue around the bottom rim of the cup and added the sole. 


Next I placed the cup on a napkin like this, then scrunched up another napkin for the toe of the boot. 


Next I pulled the napkin at the front of the boot over the rim of the cup, pushing in a bit at the top of the toe round, and then taped that into place on the inside of the cup. That’s enough to hold it in place while you pleat and fold the napkin into the cup all the way around. 

The toe part is a bit tricky but just play with it until it looks ok. This is how one of mine looked before I taped the inside of the cup down a bit better. I did the front part first, but whatever works. 


More tape wherever you think it’s needed. There’s the inside of mine. It doesn’t matter that it looks messy because the kids will take the gift and candy, and the boot will eventually be thrown out with the wrap. 


And here it is with the ribbon on. If you’re good with tying bows, 24” will do you. If you struggle, cut 30”. You can cut the tails down after. 


Then comes the really fun part where we fill it with candy and gifts. Two of these have gifts included, and two are going to be included with gifts and only contain chocolate, candy canes, gummies, etc. If you are giving gift cards or jewelry, etc., these are perfect for teens or kids. 


I opted to throw these in a see-through Christmas bag. I still have to tie them, but cute, right?? 


Hope you try to make your own. As promised, here’s the link to Maria Bauer at Maria’s Foodstyle. You’ll find a little video there as well which may be easier for some to follow along with. 

Thanks for stopping by !
Blessings to you this Christmas,
C~ 


Jul 14, 2023

Free Crochet Freezie Holders for kids patterns

Hello,

It’s been extremely hot here in the interior of BC, so I wasn’t too surprised when I noticed that my freezie holders for kids were getting a lot of attention lately. These adorable crocheted freezie holders do up quickly and the kids love them. They keep their little fingers from freezing up &  getting wet and sticky. Check the sidebar for two posts with patterns included for four different holders, plus a link to six more of my freezie holder patterns on Ravelry. Links below.


On the blog:


On Ravelry: 


Enjoy your summer

Oct 20, 2022

Caught the Sewing Bug!

It seems my craft preferences change with the season and lately I’ve been hit with the sewing bug. 

I had started a “quilt by the month” quilting pattern by Suzy’s Sitcom, and then almost got it finished when I grew tired of it. I finally picked it up again this summer, completed it and posted it on this blog. 

After that I made a softie, a pillowcase, doll clothes, bowl cozies and a mugrug. Now I find myself looking at free and paid sewing patterns all over the web.

I’ve also reorganized my craft space and added a separate sewing area. I think I’m in for the long haul.

To catch myself up I’ll share what I made with links to patterns and sites I used. The completed quilt is in the post below.

The Gerald the Giraffe softie was a pattern I purchased from Sweet Briar Sisters on Etsy.  Isn’t he just the sweetest? This was fairly easy to make, but follow the directions closely. 


Then I found a free pattern for a pillowcase with French seams from Treasurie. You roll this one up like a burrito, and in the end there are no raw seams. The instructions are provided at the link. 

This one is for one of my granddaughters, and is folded twice, but you get the just of it. Oh look- there’s Gerald again.


Next I decided to make doll clothes for 18” dolls. I used a free pattern for both pieces.

Shorts pattern by Lelesdesign. The link to the pattern is below the video.


This was fun to make but the fabric was a bit stiff. The closure is Velcro.

Lydia’s Sweetheart Doll Dress by PA Country Crafts  The instructions and pattern are included. 


I haven’t finished the hem on this one yet. I had to order a rolling hem foot which has now arrived. I hear it’s a bit tricky to master, so I’ll practice first. Cute little pattern, and easy. 

If only I had an 18” doll to check the fit on!!

Did I mention I used to do piece work for a childrens clothing company called Rainbowear? This brought back happy memories. I can’t wait to try reversible coats and jackets for these dolls. 

Then I moved onto some Quilted Bowl Cozies. I used a pattern off of Craftsy. I made two of these. They’ve come in pretty handy already. 


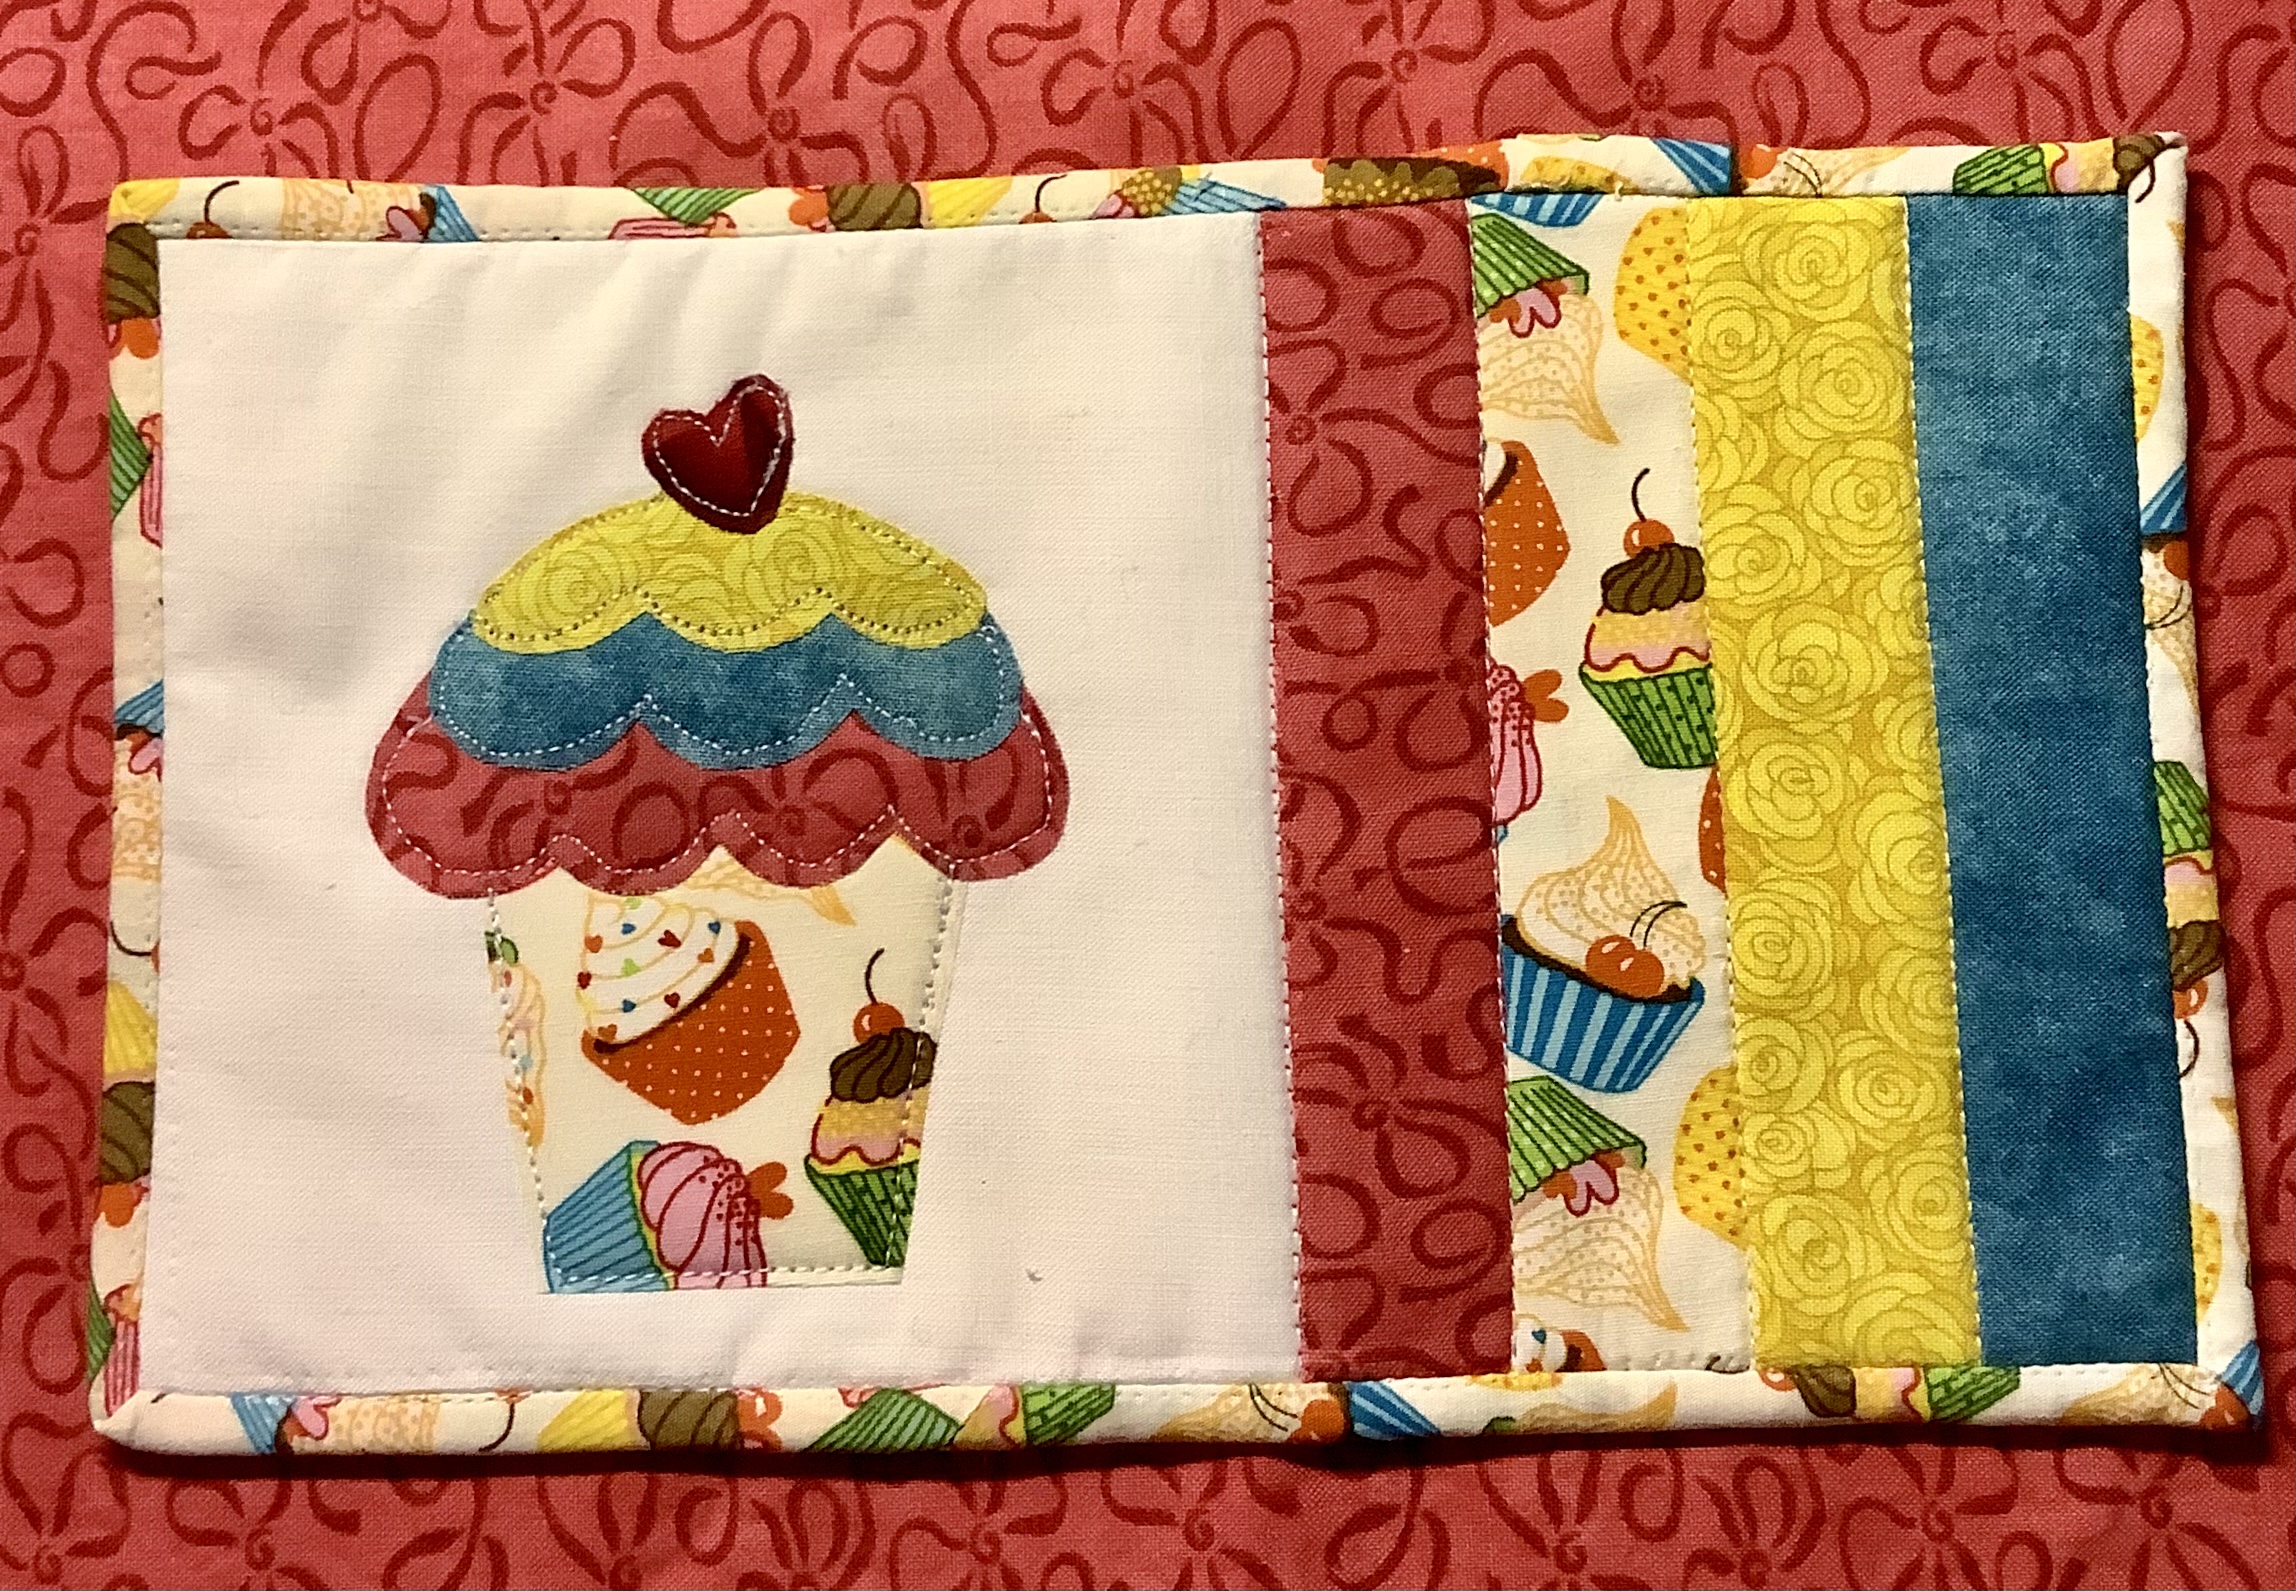
Last but not least I decided to make a mug rug. This little mugrug pattern is my own. It’s for my granddaughter who loves to bake. 

In hindsight I should have made an apron, oven mitt and a mugrug with this fabric, but there isn’t enough of it left now. I found the pillowcase pattern first, so I made it first. Maybe I’ll make her a set at a later date. 


I might turn the pattern into a pdf if I can figure out how. I’ve done digital stamps, so it can’t be that much more difficult.

Thank you for popping by today. Hopefully I’ll be back soon with more to share. Have a great weekend!

Blessings,
Carmen
PS: Check the side-bar…seems everyone is looking for Christmas ideas already!

Apr 1, 2022

Cat and Mouse Fabric Cards

As you are probably aware by now, I love to try all kinds of crafts, especially when it comes to anything paper or sewing related to mention a couple of things. One of my biggest flaws is that though I have a blog, Instagram and Pinterest —- I often forget to make a post. 

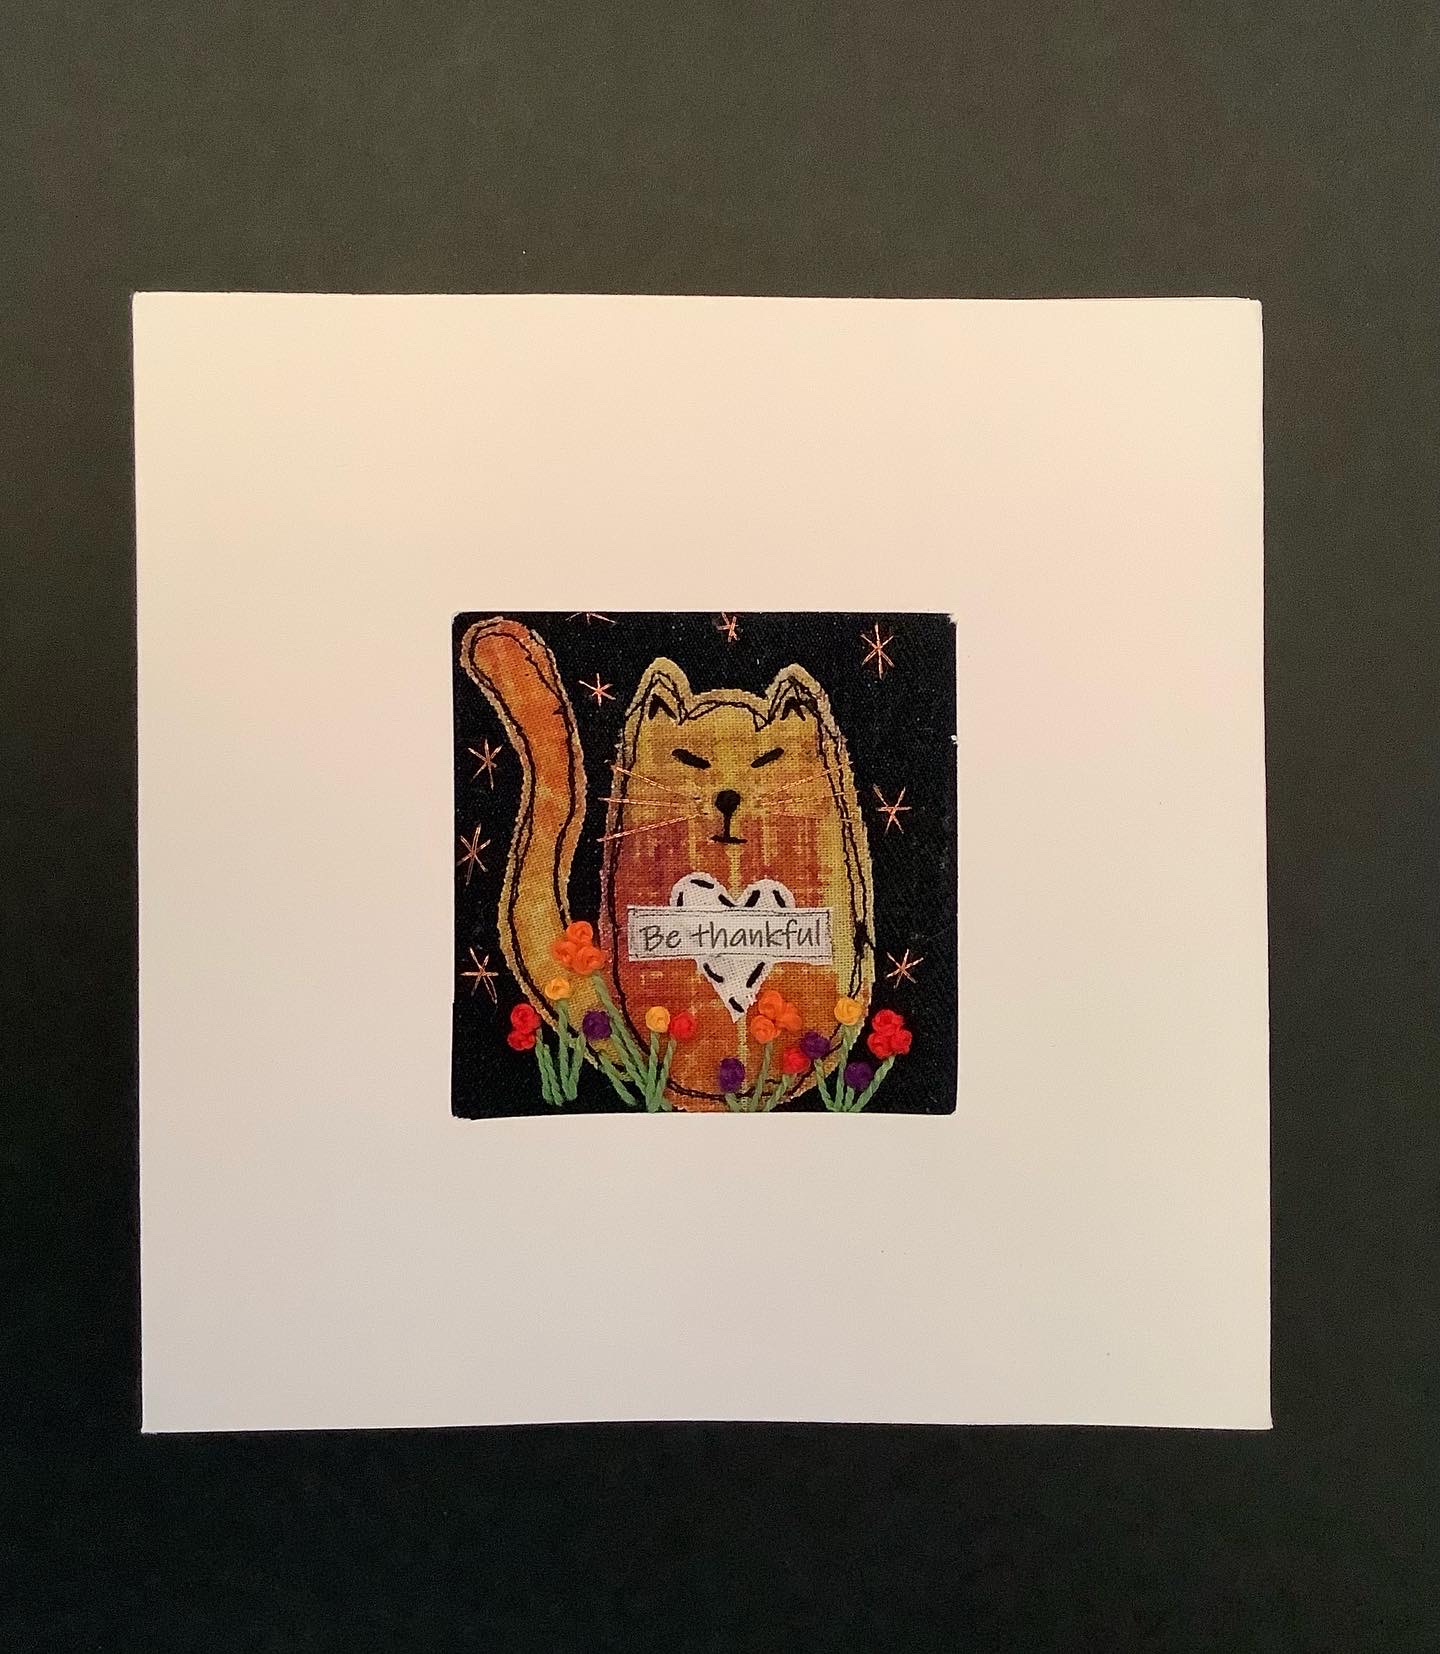
I’m not so bad with Instagram, not too great with the blog, but Pinterest? Now that’s a sad story. So I went and posted a few more cards on Pinterest tonight. As I was doing that I came across a bunch of fabric cards I hadn’t posted on the blog yet. So I’ll share those tonight. 

I’m truly enjoying the sewing process. These cards are more expensive to make because they take a bit longer to make, but the square window cards and envelopes are purchased and are a bit pricey. I like the final product enough to keep making them anyway. 


These are the little mice I made. 


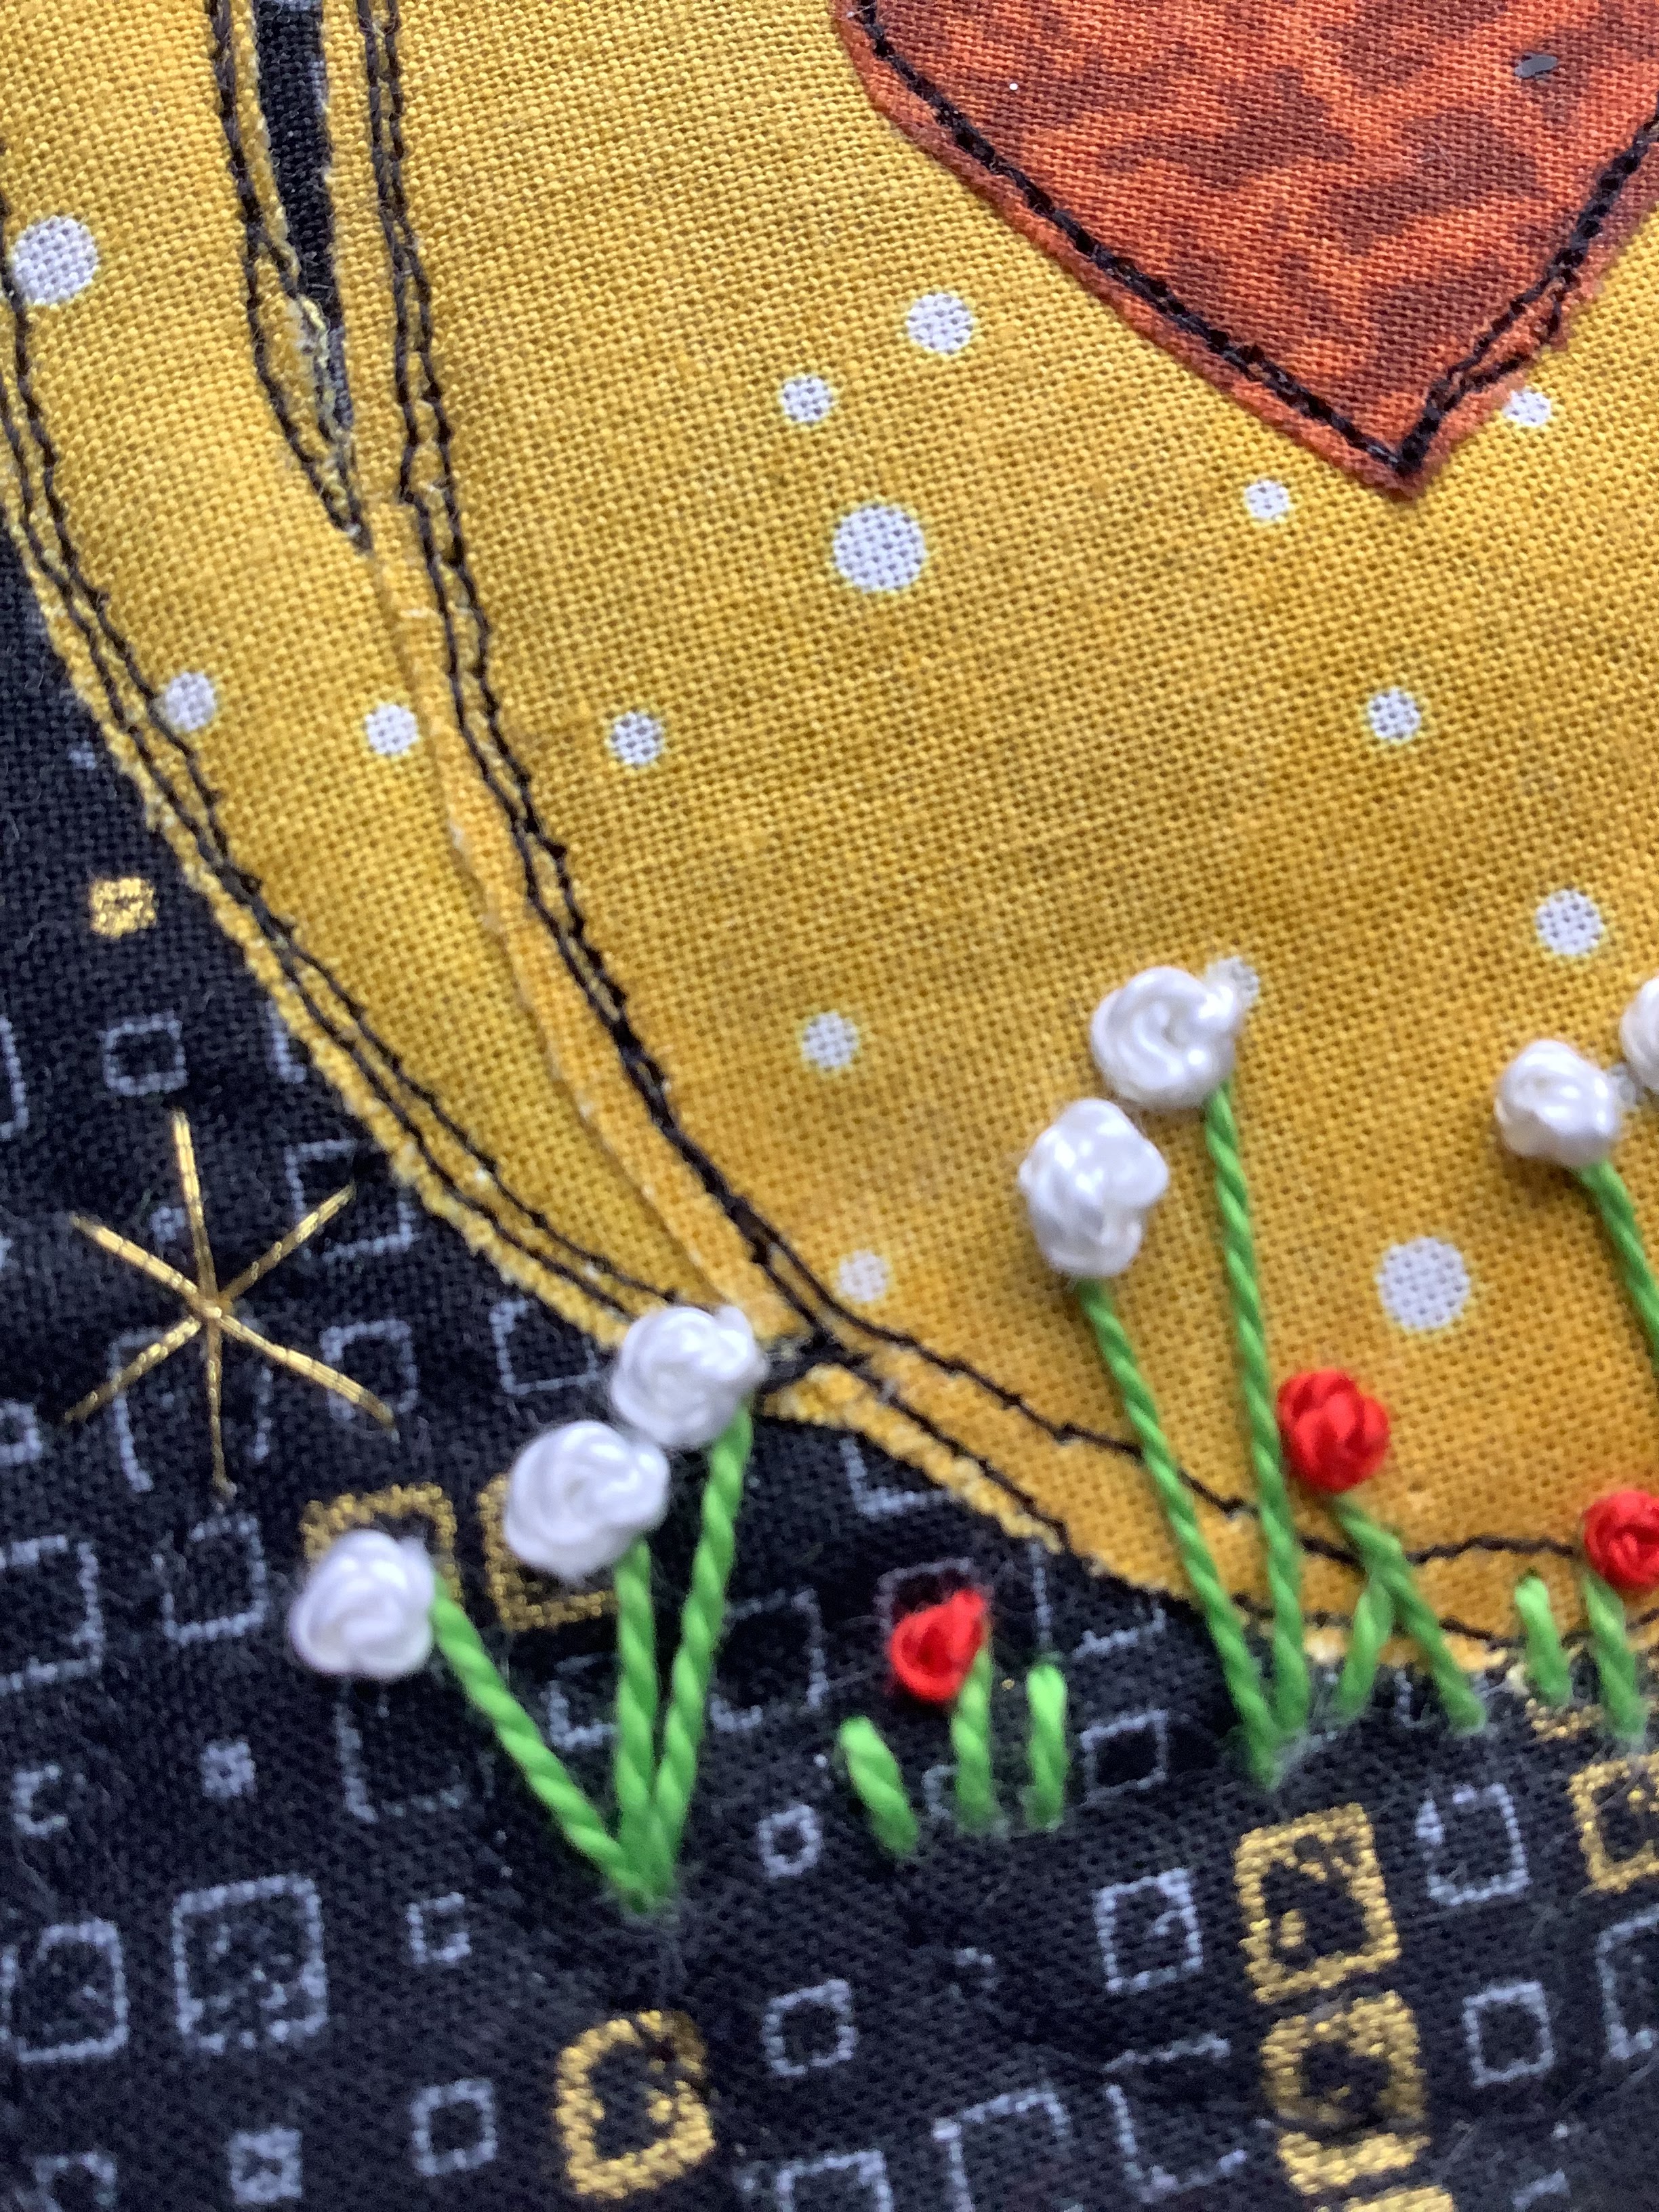
These are similar to the dragonflies in that they’re quilted, appliqued, embroidered and embellished. 

I also did some cats. 


After these were done I made some larger ones to put in an enclosed matt. These are sneak peeks as they’re not quite done yet.


I think I’ll stop there. 
Hope you have a fantastic weekend!

Blessings,
Carmen


May 7, 2021

Unicorn Pouch with Zipper Pull

Hi there,

I’ve been wanting to create a Unicorn zipper pouch for my granddaughter who loves unicorns. There was nothing I could find that appealed to me. I had made a tiger zipper pouch (several, actually) and decided to use the basic outline as a springboard since I’m giving that one to her brother and I’d like them to be similar in shape and size. From there I made the rest of the pieces for the face, the ears and horn, etc. 

These are so fun to make because I’ve sewn professionally for a company where everything had to be perfect. It’s nice to just sew and enjoy. Although I am kind of picky with the end result anyway. I guess old habits die hard!


The muzzle and other details are made with 80% merino wool felt. The zipper pull is made of leather type felt and wool felt (the rainbow), and the horn is made with glitter felt. All of them sourced in Canada, which is nice! 

Thanks for stopping by!

Blessings,
Carmen


Apr 19, 2021

Of Mice and Minion Freezie Holders (Free Patterns)

It's that time of year again in the 'Loops where the weather has suddenly turned warm and summer will soon have us sweating away wishing for some freezies, In 2017 I wrote up a few patterns for freezie holders which are available on Ravelry. However, I never made the Mickey, Minnie and Minion patterns for sale due to copyright laws with Disney. I just didn't think it was worth it. So today I've written those out for you to enjoy for free, here on the blog. I apologize for any formatting issues ---sometimes blogger just doesn't the copy paste feature!


MINION FREEZIE HOLDER

by Carmen Gamble Designs


G hook, Blue, Black, Yellow, White and light grey yarn.

Starting with blue yarn:

Row 1: Foundation HDC 18 and join in the round. Chain 1

(or chain 19, HDC in 2nd chain from hook and 1 HDC in remaining chains. Join with slip stitch to first chain being careful not to twist the chain. Chain 1. Work a row of 18 HDC and slip stitch to join. Chain 1. This completes the first row. Now continue with the rest of the pattern)

Row 2-5: HDC in same space as chain 1. HDC 1 in each remaining stitch. Slip stitch to join. Chain 1. (18)

*Change to yellow yarn while joining with slip stitch at end of row 5.

Row 6-10: HDC 1 in same space as chain 1. Continue 1 HDC in each stitch. Slip stitch to join. Chain 1. (18). Do not cut yellow yarn.

*Switch to black yarn while joining at end of row 10.

Row 11: HDC 1 in chain 1 space, HDC 1 in each remaining stitch, slip stitch to join. Chain 1. (18)

*Switch back to yellow yarn while joining at end of row.

Row 12-17: 1 HDC in chain 1 space and in remaining stitches for each round. Slip stitch to join. Chain 1. (18)

*Omit chain 1 for end of last row. Fasten off and work in loose ends.

EYE: White Yarn

Row 1: Make a magic circle and HDC 10, pull tight and slip stitch to first stitch. Ch 1. (10)

Row 2: HDC 2 in each stitch. Slip stitch to join. Chain 1. (20)

*Change to grey yarn in slip stitch to join. Ch. 1

Row 3: SC in same stitch as chain 1. SC 1 in each stitch around. (20)

Fasten off leaving a tail to sew it in place.

Sew eye onto body positioning it onto or above black stripe. Sew on black button wherever you want it.

HAIR: Black yarn

Cut 4 pieces of 5” yarn in black

Using 2 pieces of yarn at a time, fold them, pull the loop you've created through a stitch at the top of the head and pull through from front to back. Pull the rest of the yarn through the loop and pull taut. Cut to size (approx 1”)

MOUTH: Black yarn

With a darning needle, pull up a piece of black yarn on the third yellow row from the bottom. Count 2 stitches to the left and one row up, then pull yarn through to the back of the body. Bring a stitch up and around the middle of the yarn you made the mouth with to hold it in place and make it look like a little smirk. Use photo for guidance. Fasten off.

Minnie Mouse Freezie Holder

by Carmen Gamble Designs


G Hook. Pink, White, Black yarn. Starting with pink yarn.

Row 1: Foundation HDC 20 and join into a circle. Chain 1

(or Chain 21, HDC in 2nd chain from hook and 1 HDC in remaining chains. Join with slip stitch to first chain being careful not to twist the chain. HDC 1 in chain 1 space and HDC 1 in remaining stitches. Slip stitch to join. Now go on to the rest of the pattern)

Row 2-9: HDC 1 in chain 1 space. HDC 1 in remaining 19 stitches. Slip stitch to join. Chain 1. (20)

*End of row 9 slip stitch with black yarn to change color. Chain 1.

Row 10-15: HDC into chain 1 space, then HDC 1 in remaining 19 stitches. Slip stitch to join. Chain 1.

Fasten off at the end of last row. (20). Work in ends.

EARS: Black yarn

Row 1: Make a magic circle, chain 1. HDC 10 into magic circle. Pull the center tight to create your circle, and slip stitch to join. Chain 2 (10)

Row 2: HDC 2 in each stitch. Slip stitch to join. Fasten off (20)

The ears are attached with yarn. Line up the center of each ear with the top corner of the body. The ears should stick out the sides. Do not tack those down, just sew the portion of the ear onto the part that covers the body. Work in ends.

BOW:

Use pink yarn and chain 15

In 3rd chain from hook, 1 DC and 1DC in each of the next 12 chains.

Join ends of bow together leaving long tail and hold join in middle to create bow.

Wrap yarn tail around center of bow and with a darning needle fasten it in place.

*Leave enough of the yarn tail to sew bow onto body.

POLKA DOTS: White yarn

Make a magic circle, chain 1. 10 HDC in circle. Pull center tight and join circle with a slip stitch. Leave tail for sewing. Make 3 to 6, whatever your preference. Fasten off.

Mickey Mouse Freezie Holder

by Carmen Gamble Designs


G Hook, Red, Yellow, Black yarn. (Opt. Yellow buttons)

Starting with red yarn.

Row 1: Foundation HDC 20 and join into a circle. Chain 1.

(or Chain 21, HDC in 2nd chain from hook and 1 HDC in remaining chains. Join with slip stitch to first chain being careful not to twist the chain. HDC 1 in chain 1 space and HDC 1 in remaining stitches. Slip stitch to join. Now go on to the rest of the pattern)

Row 2-7: HDC 1 in chain 1 space. HDC 1 in remaining 19 stitches. Slip stitch to join. Chain 1. (20)

*End of last row slip stitch with black yarn to change color. Chain 1.

Row 8-15: HDC 1 in chain 1 space and each of stitches. Slip stitch to join. Chain 1. Fasten off at the end of the last row. (20). Work in ends.

EARS: Black yarn

Row 1: Make a magic circle, chain 1. HDC 10 into magic circle. Pull the center tight to create your circle, and slip stitch to join. Chain 2 (10)

Row 2: HDC 2 in each stitch. Slip stitch to join. Fasten off (20)

The ears are attached with yarn. Line up the center of each ear with the top corner of the body. The ears should stick out the sides. Do not tack those down, just sew the portion of the ear onto the part that covers the body. Work in ends.

SUSPENDER BUTTONS: Yellow yarn.

Make a magic circle. 5 SC in magic circle. Pull center tight. Slip stitch to join. (5)

Fasten off and keep a tail to sew them onto the body. See photo for placement.


*Pattern Link Below for Additional Freezie Holders.

Copyright Notice:

Feel free to sell items made from this pattern. A link back to this pattern in your listing would be appreciated but not required. Please do mention Carmen Gamble Designs or my blog name. :)

Check out my blog “Beyond the Fringe Crafts” for a free Ninja Freezie Holder pattern and other great project ideas.

Free Cute Little Freezie Holders Pattern

Thank you and Happy Hooking! No part of this pattern may be duplicated, sold or redistributed without written consent of the designer.

Thrills & Chills Freezie Holders


Feathered Friends Freezie Holders


Thanks for stopping by! Until next time!