
Hi there,
The other day I totally scored! I happened to find a 24 hour auction for my area that was selling a ‘plastic coated’ fabric. About 5-7 meters of it in 7 different colors. It’s called PUL fabric (polyurethane laminate) and it’s kind of expensive normally. I can only find it for about $25 CAD per yard online, or in small packages at our Fabricland store. I’m so happy I got it at such a good price. (I actually scored again in Vancouver when I got some upholstery material from Dressew’s clearance department for $4 a metre. It was a good week and I’ll be showing you what I make with those soon.)
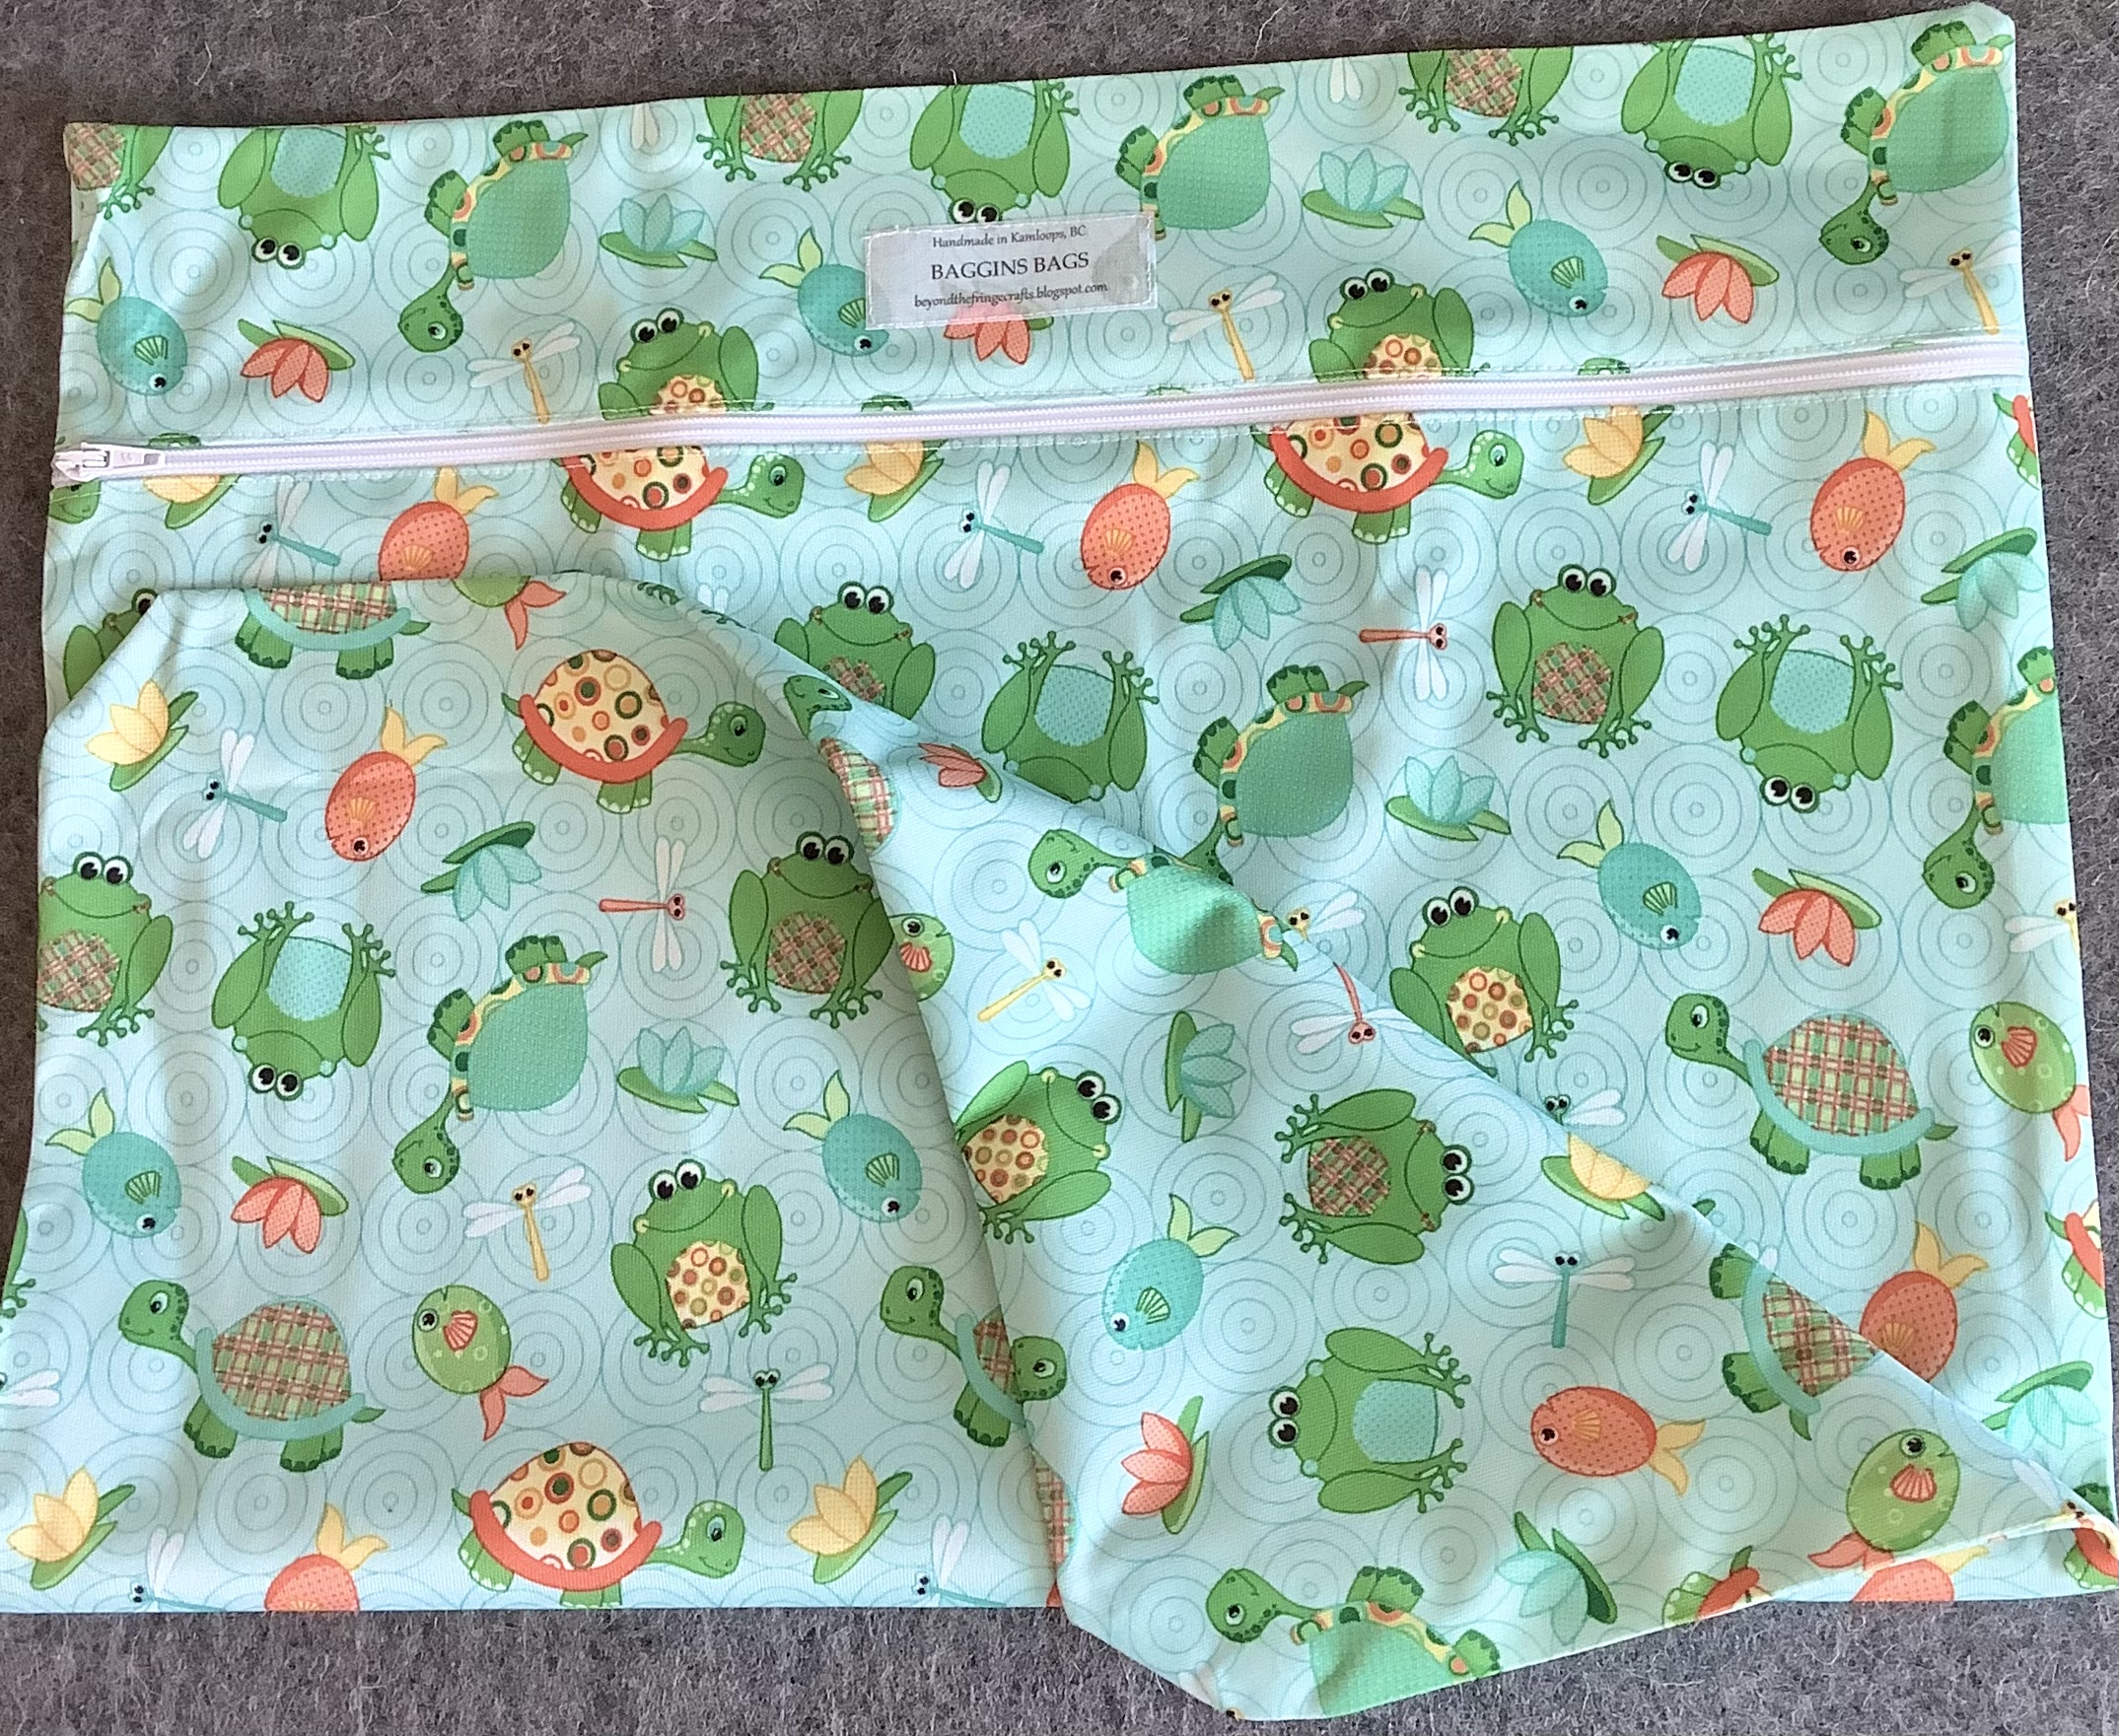
This fabric is waterproof, wipes clean and can be used for food. So it makes great sandwich or treat bags. It’s amazing for a wet bathing suit or towel, if you want to keep everything else you have with you, dry. It’s also great for in your diaper bag for soiled baby clothes or for used diapers, until you can dispose of it responsibly.
I made three sizes of “wet bags” as they’re called.

Here they are all folded and pretty.
I decided to make up some labels (I’ll explain how I did that below), but first had to pick my husbands brain for a name, because that is so not my forte. He came up with “Baggins” as one suggestion. It reminded me of Bilbo Baggins on his adventures. So I went with “Baggins Bags.” I specifically wanted to identify them as handmade in Kamloops, then added the name and my blog address.
This one is a large. It’s for one of my older grandkids and can hold a wet bathing suit and towel.

The bottom two are sandwich/treat bags
The top one is for in a diaper bag.
Bottom line is you can use these for whatever you want. This fabric can be found in more “grown up” designs but this worked just fine for me. I’ll be keeping my eyes open for deals down the road, but for now I have lots more to sew up.
HOW TO MAKE YOUR OWN LABELS
The labels are super easy to make. I’ve seen several tutorials but ultimately I did my own thing, and I think it’s the easiest way to make them.
You’ll need:
White cotton or muslin, about a medium weave.
Heat n Bond Ultrahold
Windows office
Iron
1. I went into windows office and added a table. Then just typed in the info and copied it into the whole table. Here’s my paper copy to see what it looked like. Normally I would get rid of the grid lines, but I got ahead of myself and forgot, so I just trimmed them to size with my cutter and scissors on the fabric copy.

2. Cut a piece of heat n bond ultrahold to the size of the printer paper.
3. Iron your piece of white fabric, then place the heat n bond onto one side and iron it in place.
4. Cut the fabric to the size of the heat n bond.
5. Place your label fabric into your printer.
(With my printer I have to make sure that the label fabric will catch, so I just roll it a bit on the bottom)
6. Hit print and then let it dry a minute.
7. Place a clean paper on top of the printed side and press it lightly with a warm to hot iron to set the ink. I also iron the back side.
That’s it! Now you can cut your labels to size.
I cut the labels into two sizes even though the print is the same on both.

These are strong enough that you can just iron them on and they’ll stay even in the wash and won’t fray. However, I like the look of the sewing around the edge, so I do both on mine.


To use, just peel off the back and you’re good to go.

Alright then, I think we’re done here. Thank you for stopping by. I hope this post has been helpful in some way.
Easter Blessings!
Carmen
What a great buy Carmen... and thanks for the tips on making the labels. Your bags look wonderful
ReplyDeleteBlessings
Maxine
Thank you ,😊
ReplyDelete