
We live in Kamloops, B.C., so I didn't know if I would be able to find that type of fabric. We are a small city with a population of about 80,000 but sometimes it's still hard to find exactly what you want.

I used Tonka Truck fabric for the inside and Spiderman fabric for the sides. Quite appropriate for a 6 yr. old, don't you think?

Here we have the zippered pockets in blue, yellow and red.

I love the red accent on this bag; here's the side piece completed.
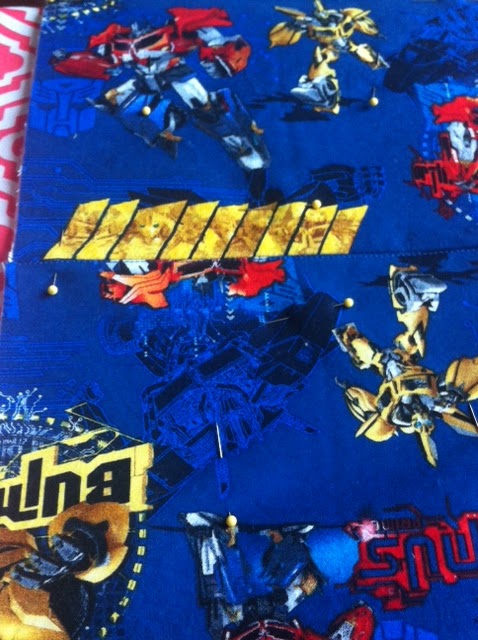
Lucked out! Transformer fabric!!

The completed bag.
It looks different than the other bags because it's 2 inches taller, but it's still the same width as the original bag. All my measurements worked out just fine. I surprised myself! The other side has a couple of the transformers pictured.

Here's an idea of how much taller Kai's bag is. See the zippers in the orange bag on the right? Match them with the zippers in Kai's bag and you'll see how much taller it actually is.
Kai's bag isn't completed in this photo, so it's even taller than it looks here. Sure is roomy too. The pockets are about 5 1/4" deep instead of 3 1/4". I'm happy with the way it turned out and so was Kai.
THREADING TIP
Here's a little sewing tip! Well, it's actually a threading tip. My eyes aren't as good as they used to be so I have quite a time threading my machine needle. The other day I figured out a very easy, no cost tip that makes it so much easier. I couldn't believe I hadn't thought of it sooner! If you're like me, you may appreciate this little tip.

Notice all the shiny silver? Pretty, but I can hardly see the hole in the needle, even with my glasses on. Okay the truth is I can barely even see the needle with all this shiny silver stuff going on.

Here's my fix. I ripped off a piece of used white card stock I had sitting around and put it behind the needle. It takes away the sheen of the silver and allows me to see the hole in the needle. Yay.

I threaded this sucker first time I tried. :) I can't believe how much easier it was.
So, nothing too exciting here, but it sure does make threading and re-threading my needle easier, quicker and definitely less frustrating. A win, win, win situation!
My DIL came over last weekend and we prepared some things for her next few projects. I helped her with some of the prep work, so I'll be showing some of that on my blog in the near future. They'll be baby themed!
Have a good weekend!
Blessings,
Carmen
Terrific bags with wonderful fabrics.
ReplyDeleteThank you for the tip I will find it useful for sure
Love Chrissie xx
Oh awesome! Sometimes the simplest tips are the best! :)
DeleteYou do great work! I enjoy seeing it all!
ReplyDeleteOh My!!! What an awesome tip. I am definitely keeping this tip in mind. It's one of those "duh" (slap the forehead) moments. LOL
ReplyDeleteHahaha! That's what I thought too Heather!
DeleteOh this is so sweet. He will cherish it forever. And what a great memory you made with him, along with the custom-made bag. Every time he uses it he will think of you and know that you love him.
ReplyDeleteHugs,
Teresa