Whether I’m sewing, crocheting, card making, painting, or doodling, I’m always making something here in Kamloops, B.C. Don’t forget to check out my free digitals and vintage graphics while you’re here. Enjoy your visit!
Showing posts with label Other Crafts. Show all posts

Jan 8, 2026

Denim Pocket Picture Frame

Hello people 😊

I don’t know if I told you, but I came across a fun recycled denim idea that I decided to try. I love it and hope to make a few more. Not only that but I will continue to work with denim fabric, both recycled and new. Here is my creation. 


I love it! The casual, recycled pocket from a pair of old jeans used with some cute little scrapbooking flowers. I glued them in place, but you could totally fashion a pocket to go in the pocket and replace it with the season (i.e. Christmas, Easter, Thanksgiving, Spring, Summer, Fall, Winter), you could really get creative with these.

Thanks for popping by,
Blessings,
Carmen

Dec 12, 2024

Country Christmas Table Decor


Hello there,

There’s quite a bit to unpack in this post. I loved my primitive digital stamps and decided to make some felt ginger prims out of some of them. Dried orange slices have always appealed to me, and then I found these primitive candy canes. Plus, you know I’ve made soap and salves in the past - - so now I am trying to make my own toxic-free cleaner. 

Believe it or not, out of all that came my table top Christmas decor. 

If you’d like the link to my Ginger Prims above, they were made from my digital stamps here. Just click on the image, and print from the new page. The Primitive Star Snowman is here

The orange slices were super easy to do. I don’t have any photos of the process because it’s so simple. Cut the ends off an orange, cut a bunch of quarter inch to half inch slices and put them on a cookie tray. I used foil under them, I believe. Turn your oven to 200 degrees Fahrenheit and turn them over every 45 min or so. I think they were in there for at least 3 hours. I just kept checking on them.

Just note that if you do leave them in the oven too long, or cut some too thin, as the slice in the back, they will turn a bit brown on you. 


I’m happy with these though. 

The candy cane idea was a Pinterest find. I picked up some plastic candy canes from the dollar store, took a bunch of leftover quilt batting and twisted it around the cane starting at the crook, hot glueing it here and there as I went along. The start and end are a bit tricky, but doable. Then I took a strip of fabric and twisted it around my fat little cane in much the same way. There are YouTube videos of the process here, and the chunky ones here

You may be wondering about the cleaner, as I mentioned above. We have a large spruce tree out back, so my husband cut some branches off for me. However, I was convinced I needed pine branches, so off he went into the woods to find pine trees and he came back with a bag of branches for me. Sweet, right? 

In the end, the spruce branches had a better scent, imo, but I decided to do both. In addition I added orange peels to another mason jar as well. Once the jars were stuffed full of branches and orange peels, I added white vinegar. Also from the dollar store, since it’s just for a cleaner. Will it end up being too vinegary? Perhaps, but vinegar is a good cleaner and dissipates once dry. Plus I can add pine or orange essential oils if I decide the vinegar is overpowering. You do need to be aware of what you don’t want to use this cleaner for - - - like wood for instance, but it’ll make a great kitchen and bathroom cleaner. 


Then came the fun part. Sprucing up the jars with different elements. The rusty bells and rusty stars I got off Temu. The strings were in my stash. Oh, and the little berry wreath on top of the large mason jar was a dollar store purchase. As was the berry wreath on the table.  Notice I added some fabric strips and some cinnamon sticks as well.  


I may still add something on top of the lids, or I may leave them. I haven’t decided. 


I love my little Ginger prim man and woman. 


And of course my primitive star snowman. 


Here it is in all its primitive country glory. I guess it’s fair to say I’ve been keeping busy. I love this little set up. It’s different and welcoming. All I need now are some primitive looking place settings. 

Thanks for stopping by,

Carmen


Nov 1, 2024

I made a little booklet today…

Hi there,

One of my granddaughters is having a birthday rather soon - - she will be one year old. Her little cousin is almost three and they both live in the frozen north (Fort McMurray, Alberta). Since I’m making some peek a boo dolls, I decided to make a couple for the one year old for her birthday, but didn’t want to leave the three year old with nothing (since they’re often at my sons place together.)


So - - - 
I made a little book. 

This was made with one piece of 12 x 12 cardstock, and filled with various papers. I included a bunch of stickers I just bought online, and a few other things. 


That’s the front- kind of plain but it’s for a three year old so best not to 
put a bunch of stuff on there she could potentially choke on. 


The stickers went into a ziploc bag and into the front pocket. 


The digital image behind the paper can be traced onto the tracing paper. 
Then she can color the actual image if she wants to. 

Two of the pages flip out. I used washi tape to do that. 


This is the same idea as the tracing paper, except now it’s texture I’m featuring. 
She can take a crayon and color over it to get the grid to show through. 


I didn’t photograph them all, but there are various stickers throughout the journal,
And I’ve included some other papers as well. Plus she can stick her other stickers into the booklet. 

It’s really just a little thing, but hopefully she likes it. I usually add a little snack too. 

I completely forgot to take a photo of the spine, but I got the idea from this YouTube video by Treasure Books. These are mostly journals for adults, but I downsized it for little hands. 

Hope you enjoyed! Thanks for the visit!
Blessings,
Carmen

“The blessing of the Lord enriches, and He adds no sorrow with it” Proverbs 10:22

Jul 1, 2023

Mailbox Art

Happy Canada Day!

There’s many festivities happening, but we’ve had three sets of visitors today and decided to stay home. It’s too crowded and people-ly out there. 😃

So anyway-

I’ve been watching my plain white mailbox getting sadder and sadder over the last year or two and I keep telling myself I should really do something with it. So I did. 


Hmm, blue or colored? 


Here it is in its white, rusty, boring glory. It’s served us well, but not long enough - so I pulled out a few things.


First I cleaned off the rust the best I could, then covered it with clear nail polish.


Once that was dry, I painted the bottom of the lid with white acrylic paint. 


After measuring and cutting out the fabric, out came the trusty old mod podge. I recommend outdoor mod podge for this, but I used what I had and sealed it well. 

And here she is hanging outside where you can see the color better.


I bet the mailman is going be so excited! 😂

Thanks for the visit! Have a great week,
C~


May 15, 2023

Playing in the Kitchen

Good Morning,

I took a little break today from stitching and am playing in my kitchen. You may remember my soap making adventures in the past. In the last 6 months or so I started making salves and lotions. I came across one that I really like. In fact, both my husband and my 89 year old dad love it and use it daily. So I thought I’d show you a few photos. 


A few of the supplies I needed  to make this salve. 


Here we have my mix of natural oils with some beeswax melting on the stove.


Birds Eye view. Lol


The beeswax has melted and the essential oils have been prepared to go into the oils as soon as they’ve cooled down a bit. Some essential oils will cause the natural oils to harden quickly. 


Here they’ve just been poured into tins…..


And this is how they look almost hardened.

Just a little disclaimer, I am not a doctor or pharmacist. In no way am I giving you any kind of medical advice. I’m just a gal playing with the natural things God has provided. I have to say though…my joints and muscles thank me for it! So does my family and it’s 100% natural. 

Soon I’ll have to infuse some more oils. I make them from dandelions, cayenne, chamomile and other herbs and flowers.  It has honestly been kind of fun and I’m always looking for new recipes.

So what have you been up to? Anything interesting?

Blessings,
C~ 


Dec 26, 2022

New Salves

I’m popping in to say that my Miracle Salve is working like a charm. I’ve been using it on my feet once a day, and they are getting nice and soft. My girlfriend used this recipe on her face and has affirmed its softening properties. I’ve been collecting different recipes for a while now and decided to try two others. 

This next one is a salve for pain. It’s kind of like a liniment and is great for sciatic, arthritic or muscle pain. I just want to add a disclaimer here that I’m not a doctor or nurse, just someone who prefers natural to chemical solutions. All remedies come from the earth and are changed or added to so they can be patented. I choose to know what’s in my products, and I’m feeling more strongly in that direction about food products as well — but I digress. 


The red color is due to cayenne and St. John’s wort oil. There is also my own arnica oil from dried flowers, and essential oils. It smells great. 

Lastly, I just made up some Cold sore therapy. This one has some very special ingredients in it. I have a friend who seems to get cold sores and I made it specifically for her. I’m hoping it will work as well as the natural one she got from a Penticton market quite a few years ago. 


This one has lavender, peppermint, tea tree oil, Vit. E and Rosemary extract. There are some lovely and unique base oils as well. It smells wonderful. 

I’m looking forward to trying these last two (I have extra of the cold sore therapy). I know they’ve come with rave reviews, so I’m excited. 

Thanks for popping by!

Blessings,
Carmen


Dec 12, 2022

Going Natural with Miracle Salve

Hi there,

Is anyone else feeling like you’d just like to get back to basics? I know I do. I’ve looked at the ingredient lists in cosmetics and creams & lotions and decided I’m going to make my own from now on whenever I can. 

I bought a few books in the spring on herbal recipes and benefits of natural remedies. Since I used to make soap, I’m familiar with the benefits of essential oils, but not as familiar with herbs, teas and other helpful remedies. 

In the spring I made an antihistamine cream, an eye serum and an oil for cooling hot flashes.


I wrote out the uses for it on the backs so wouldn’t have to remember.

Then recently I made this Miracle Salve. I’ll show you that and if you’d like to try to make your own, see Kelly at Primally Inspired for the recipe and those cute little labels. 


Here’s what Kelly has to say about this cream:

“It works wonders for dry hands and feet. Just rub some on your hands and feet before you go to bed, let the nourishing ingredients work their magic when you are sleeping and you’ll wake up with baby soft skin. It’s that good. You can use this homemade salve for hands, feet, face, elbows, even lips! Heck, I even use it for my dog’s paws. In the cold, harsh winter months when I need extra moisturizer to combat dry skin, I use it as my nightly face cream – I love this stuff so much!”

I agree with Kelly. I’ve used it for a couple of days and can feel a difference already!

In my recipe, I chose to use avocado oil and shea butter for the base oils. I used Frankincense, Peppermint (2 drops) and Lavender (7 drops) for my essential oils, and 10 drops of the frankincense because of its awesome properties. 

Frankincense oil reduces redness and skin irritation and reduces inflammation. It reduces the appearance of wrinkles and combats signs of aging. Studies found that it strengthens the skins elasticity and tightens it. That’s just for skin use, there are many other benefits as well. 

If you decide to make this amazing salve, do brush up on your essential oils. As an example, Frankincense should not be used on pregnant women and Peppermint should be used sparingly on skin. There are so many oils you can choose from for your own combination of oils. 

This recipe made two 4 ounce containers. 

Thanks again to Kelly from Primally Inspired for the recipe.

Blessings,

Carmen

Apr 17, 2022

Wet Bags and Easy Handmade Labels.

Hi there,

The other day I totally scored! I happened to find a 24 hour auction for my area that was selling a ‘plastic coated’ fabric. About 5-7 meters of it in 7 different colors. It’s called PUL fabric (polyurethane laminate) and it’s kind of expensive normally. I can only find it for about $25 CAD per yard online, or in small packages at our Fabricland store. I’m so happy I got it at such a good price. (I actually scored again in Vancouver when I got some upholstery material from Dressew’s clearance department for $4 a metre. It was a good week and I’ll be showing you what I make with those soon.)

This fabric is waterproof, wipes clean and can be used for food. So it makes great sandwich or treat bags. It’s amazing for a wet bathing suit or towel, if you want to keep everything else you have with you, dry. It’s also great for in your diaper bag for soiled baby clothes or for used diapers, until you can dispose of it responsibly.  

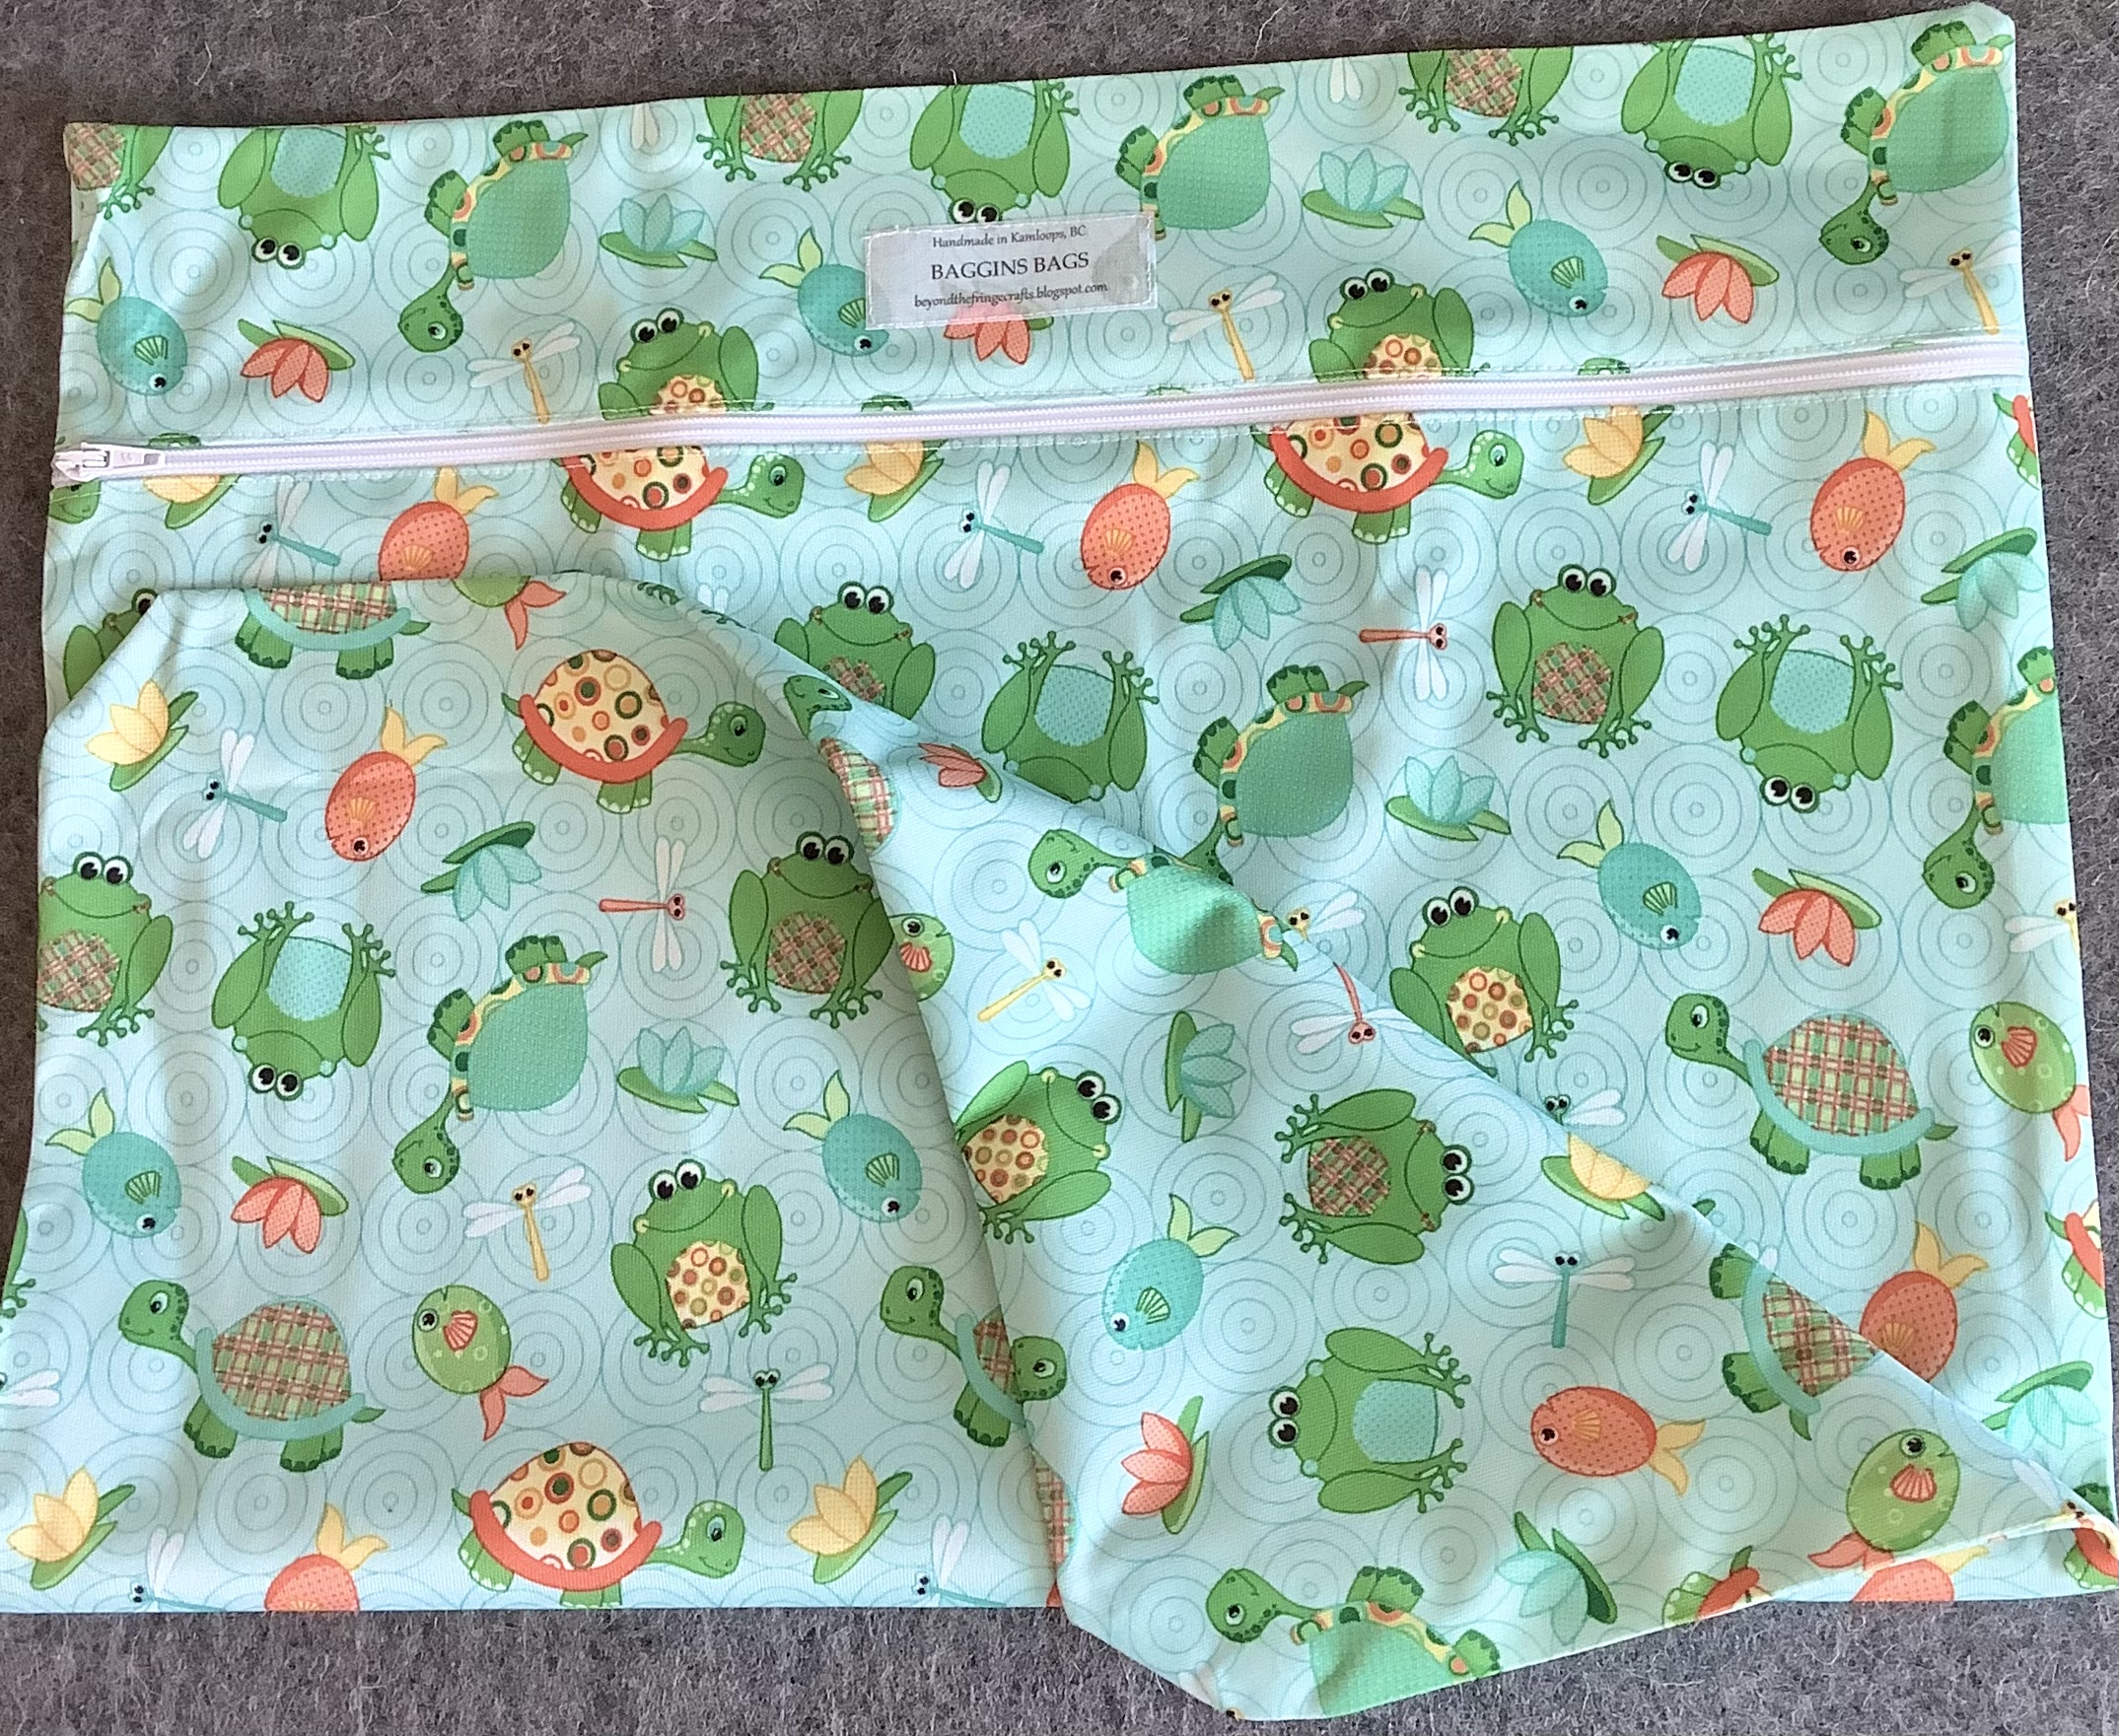
I made three sizes of “wet bags” as they’re called. 

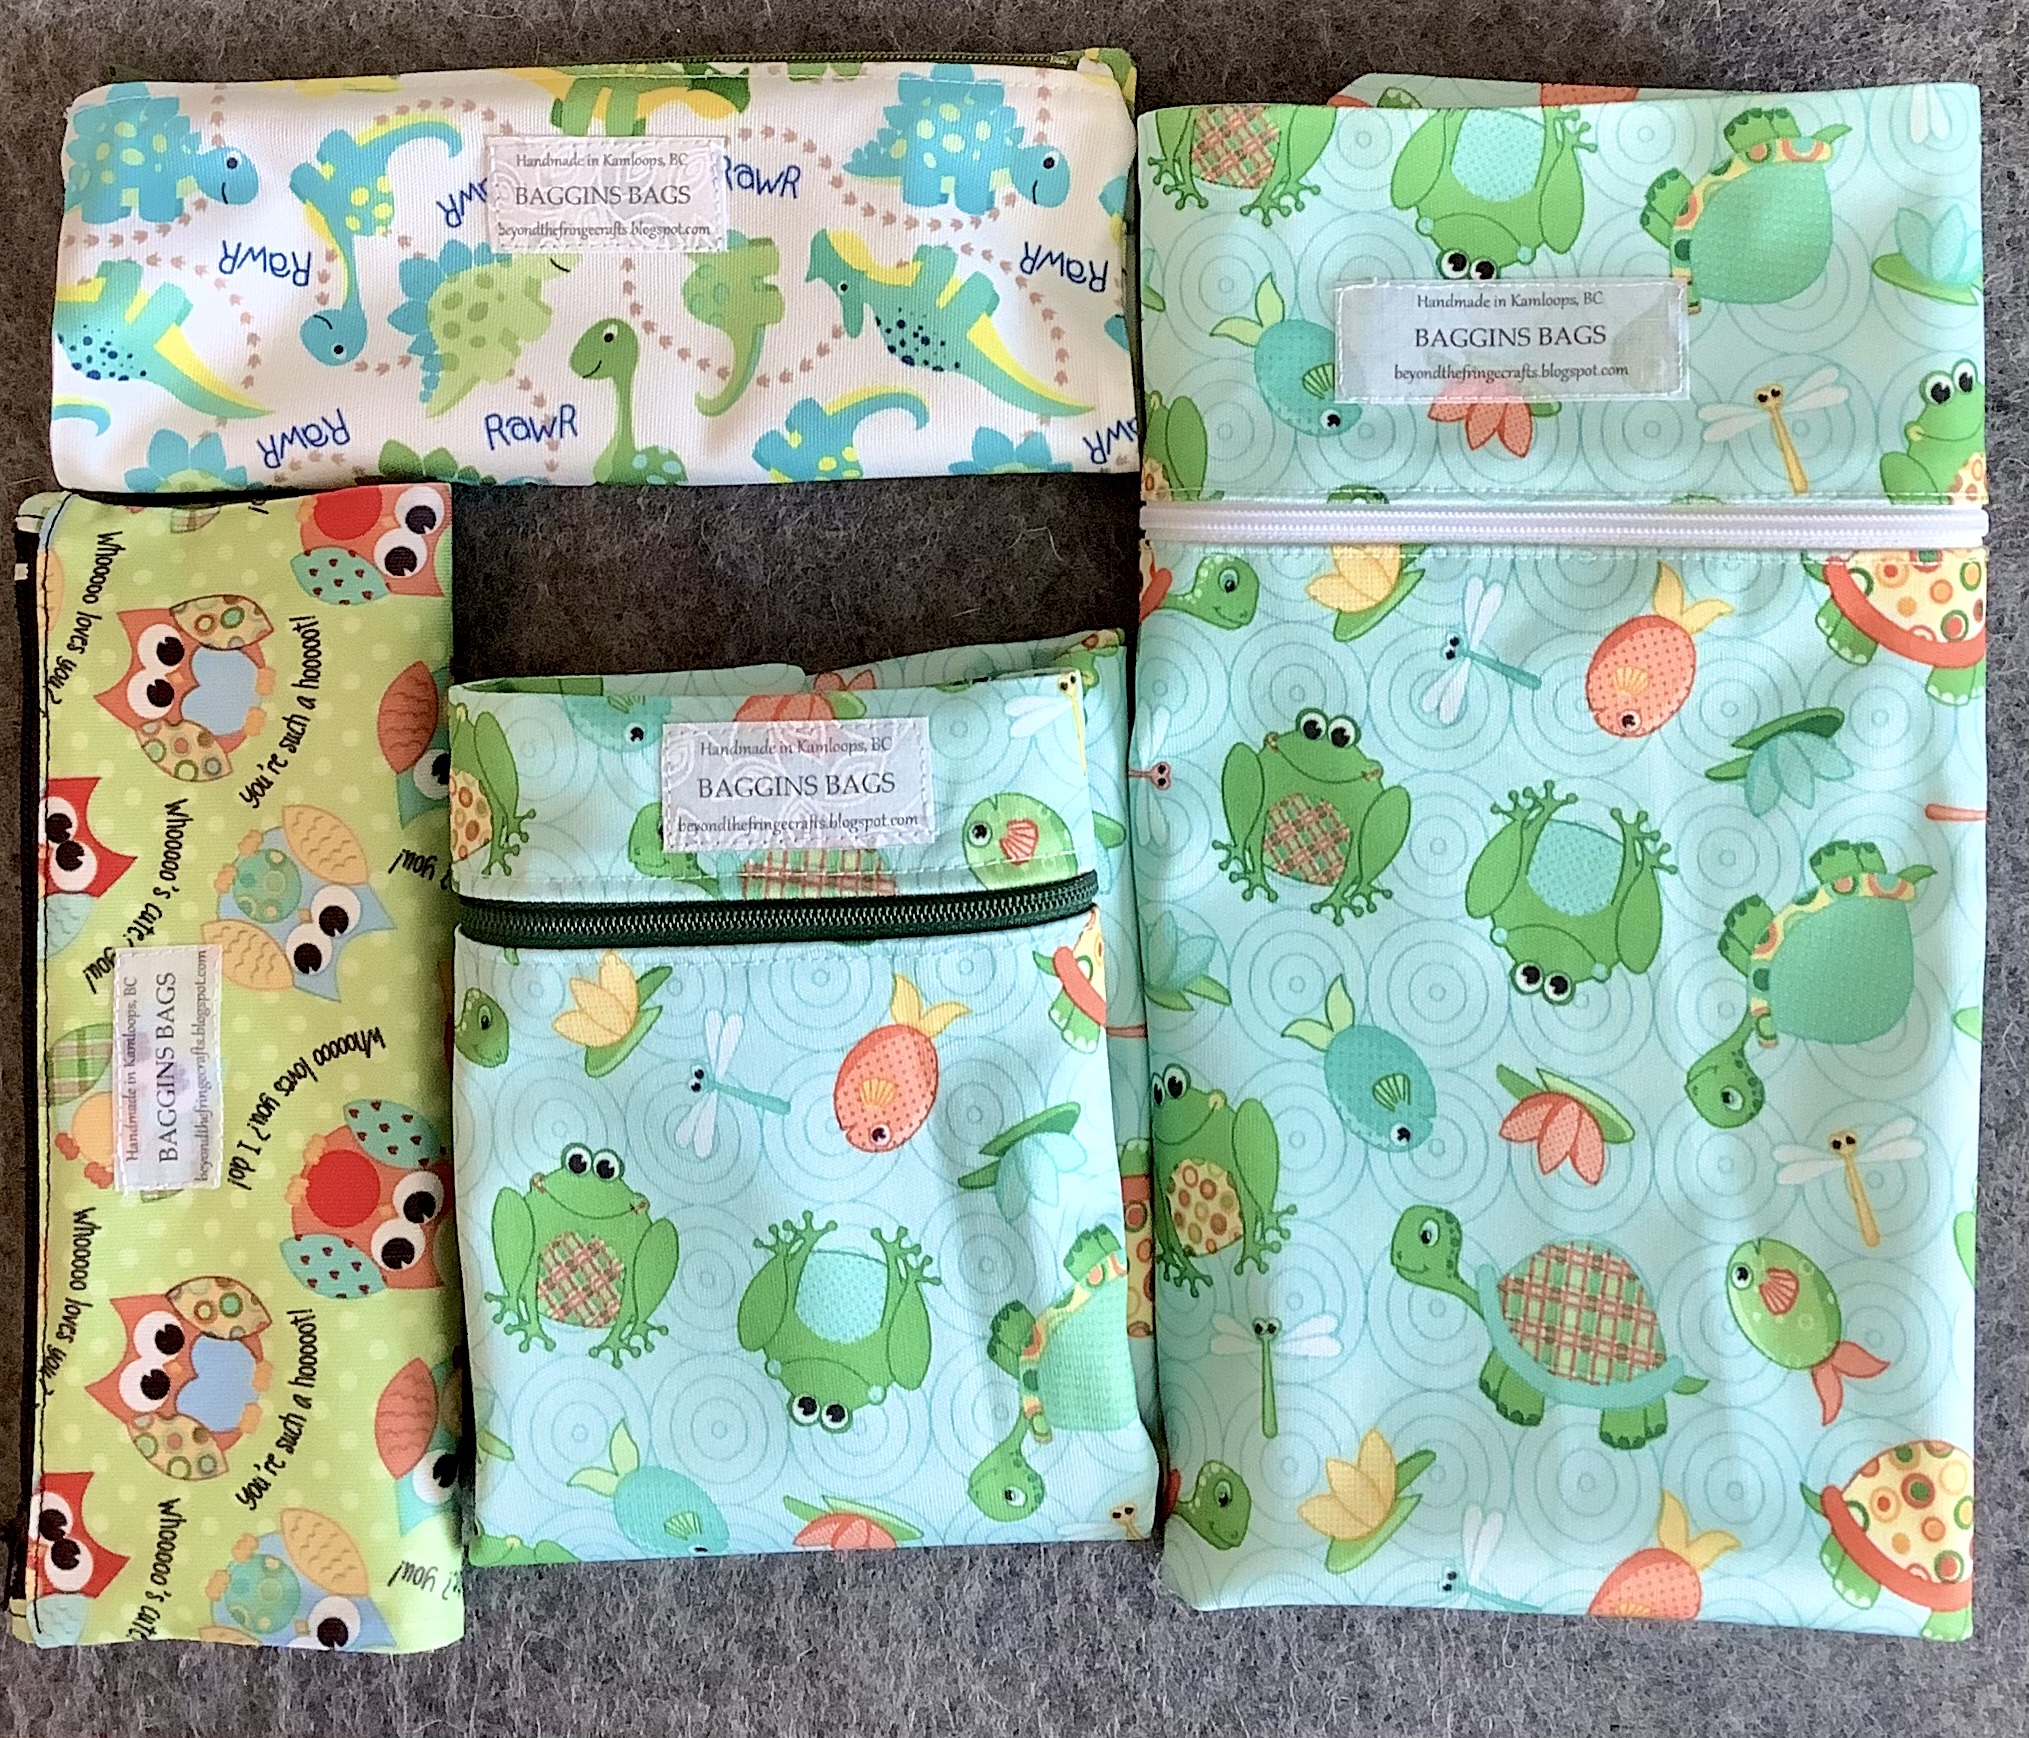
Here they are all folded and pretty. 

I decided to make up some labels (I’ll explain how I did that below), but first had to pick my husbands brain for a name, because that is so not my forte. He came up with “Baggins” as one suggestion. It reminded me of Bilbo Baggins on his adventures. So I went with “Baggins Bags.” I specifically wanted to identify them as handmade in Kamloops, then added the name and my blog address. 


This one is a large. It’s for one of my older grandkids and can hold a wet bathing suit and towel.


The bottom two are sandwich/treat bags
The top one is for in a diaper bag.

Bottom line is you can use these for whatever you want. This fabric can be found in more “grown up” designs but this worked just fine for me. I’ll be keeping my eyes open for deals down the road, but for now I have lots more to sew up.

HOW TO MAKE YOUR OWN LABELS

The labels are super easy to make. I’ve seen several tutorials but ultimately I did my own thing, and I think it’s the easiest way to make them. 

You’ll need:

White cotton or muslin, about a medium weave.
Heat n Bond Ultrahold
Windows office
Iron

1. I went into windows office and added a table. Then just typed in the info and copied it into the whole table. Here’s my paper copy to see what it looked like.  Normally I would get rid of the grid lines, but I got ahead of myself and forgot, so I just trimmed them to size with my cutter and scissors on the fabric copy.


2. Cut  a piece of heat n bond ultrahold to the size of the printer paper. 

3. Iron your piece of white fabric, then place the heat n bond onto one side and iron it in place.

4. Cut the fabric to the size of the heat n bond. 

5. Place your label fabric into your printer. 
(With my printer I have to make sure that the label fabric will catch, so I just roll it a bit on the bottom)

6. Hit print and then let it dry a minute. 

7. Place a clean paper on top of the printed side and press it lightly with a warm to hot iron to set the ink. I also iron the back side.

That’s it! Now you can cut your labels to size.
I cut the labels into two sizes even though the print is the same on both. 


These are strong enough that you can just iron them on and they’ll stay even in the wash and won’t fray. However, I like the look of the sewing around the edge, so I do both on mine. 


To use, just peel off the back and you’re good to go. 


Alright then, I think we’re done here. Thank you for stopping by. I hope this post has been helpful in some way. 

Easter Blessings! 

Carmen


Sep 24, 2021

Booklets of Hope for Today

Good morning! 

I’ve finally made a few more mini booklets. I had made three initially, but I was giving them away faster than I could make them. One for a friend who got sick, one for a birthday (we try to keep it small) and one for someone who was upset. To my surprise, all of them really appreciated them.  So, I told them all, enjoy them and if you find someone who you feel needs it more than you, then please pass it on! 

That’s how my little lights in the darkness were born. My little books of hope!

Here’s three more I made. I’m only going to show you a couple of pages in each one, but will include some quotes and scriptures for you. Also some choruses from songs I found encouraging.  Using sticker paper rather than adhering each one down with double-sided tape was much easier and less time consuming. 


I’ve made the pictures large so you can see the writing better. The only challenge was keeping the quotes small enough to fit into the 3”x 4” spot. They’re all encouraging, hopeful, or make you feel better about yourself or life in general. 

I cannot set these up as a pdf file as I'm currently using Open Office which doesn't support the correct file types.  I can write them out for you and you can make your own in Word using a table. 

For fonts, I used "Times New Roman," "Priscilla," and "Ink Free." 

Quotes and sayings:


It's hard to hear

God's voice

when you've already

decided

what you want

Him to say.

Sanctification and Spitup


I have given God

countless reasons not

to love me.

None of them

changed

His mind.

Lysa Terkeurst


Remember...

Fear

and

Faith

Cannot co-exist.

Elsie Welc


Worry is like

a rocking chair.

It gives you

something to do, but

gets you

Nowhere.


The devil wants you to worry

about what's next,

so you can't enjoy

what's now.

The devil is a liar!

Sanctification and Spitup


You can't wait until life

isn't hard anymore

before you decide

to be happy.

Nightbird


Anxiety weighs down

the heart,

but a kind word

cheers it up.

Proverbs 12:25


Let your Smile

Change the world

But don't let the world

Change your Smile


Do not fear,

for I have redeemed you;

I have called you by name;

you are Mine!

Isaiah 43:1

Cast your cares on the Lord

and He will sustain you;

He will never let

the righteous

be shaken

Ps. 55:22


Hard now

Doesn't mean

Hard forever

If today was heavy

Put it down

And give it

to God


Songs I've incorporated:

When peace like a river

attendeth my way

when sorrows like

sea billows roll.

Whatever my lot

Thou hast taught

me to say

It is well,

It is well,

with my soul!


Turn your eyes

upon Jesus

Look full in His

wonderful face!!

And the things

of earth

will grow strangely

dim

In the light of

His glory and grace.

On Christ

the solid rock

I stand

all other ground

is sinking sand

all other ground

is sinking sand!

Scriptures I've used:

Jesus take the wheel

Take it from my hands

Because

I can't do it

on my own!

Carrie Underwood


Isaiah 35:4

Jeremiah 29:11

Romans 8:31

Hebrews 13:5,6

Psalm 27:1

Deuteronomy 31:6

Isaiah 40:31

Romans 8:28

Isaiah 41:10

Psalm 55:22

Proverbs 12:25

Jeremiah 29:11

Psalm 46:1

Isaiah 43:1

Proverbs 1:33

Luke 12:25

Matthew 11:28

Psalm 46;10

Psalm 23:4

Eph 6: 10, 11

Isaiah 40:31

Psalm 91: 1,2

John 14:27

Joshua 1:9

2 Tim. 1:7


I had a lot of trouble with the formatting on this post. I guess this is the best I can get for now. My apologies!

Well, that's all Folks! 

Blessings,

Carmen