
Hello there,


First I ran them off on the printer and cut them to size.
Next I backed them with black cardstock that was about a 1/4” larger around the perimeter of the image. (See below)
Then I picked out some papers that complimented the images.

As you can see, I used studded metal-look paper I had in my stash. (You can see the main images backed with cardstock). I always look for paper elements I can use on the card front. In this case, the clock, some brick paper, license numbers, rusty panels, tags, etc. Some of the paper is Ciao Bella’s Collateral Rust. I wish I could get more of it in Canada at a reasonable price!
Once I’ve figured out which of those I want to use and where, then I look for other elements I can add to bring interest. These are some of the items I pulled out.

I have metal brads, cork ribbon, jute cord, loosely woven canvas, metal keys and fans, etc. In this case I added brads to each card, keys to two cards, a spinner to two cards and some jute to a tag and the keys, and some cork ribbon.
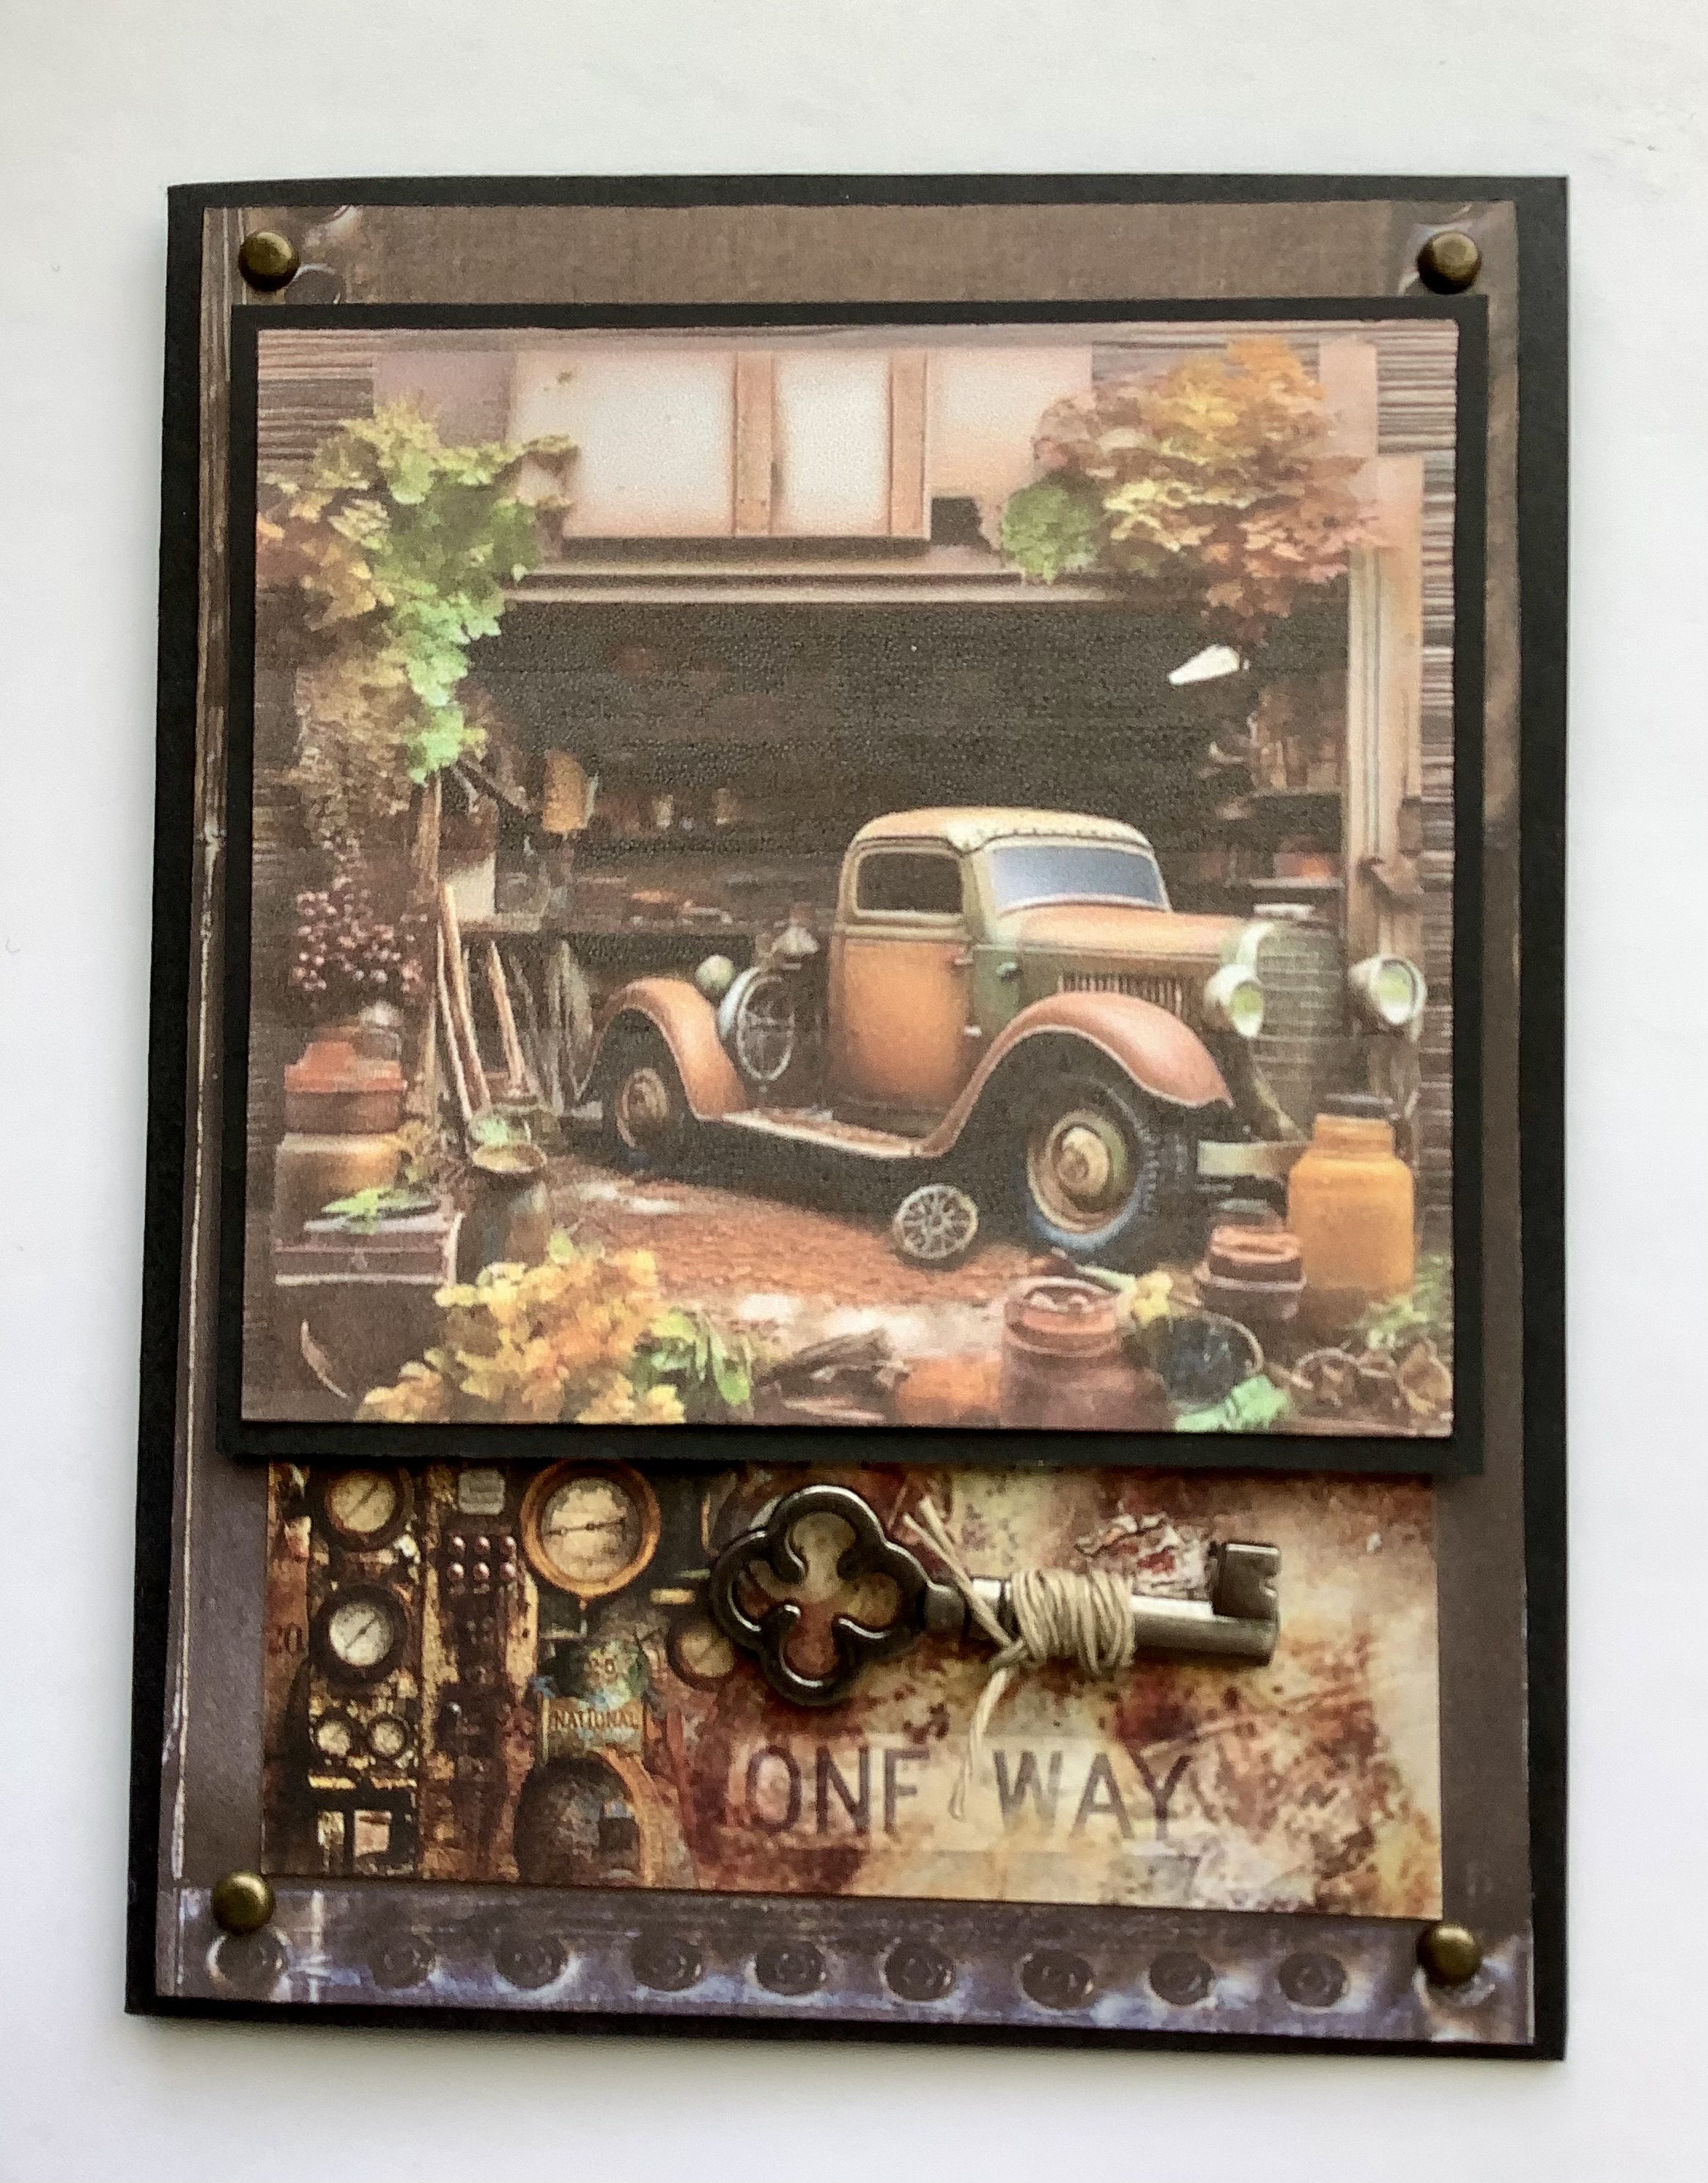
Once I’ve decided what to use, I start to add adhesive to each section. In the example below, I have the background of the card front with brads added to each corner, and a paper element adhered in place. On the paper element is a key which I’ve wrapped in jute and adhered in place with red embellishment tape. To the left is the back of the main image with foam tape added to bring some height.

Here is the finished card top with the raised image in place.

Now that the front is done, we can adhere the already prepped card front onto the card base.

But I’m not done yet. Next comes the inside. This needs to be plain enough that you can write on it. I tend to use a piece of designer paper that either matches or compliments the background of the front of the card. Then I add plain cardstock on top. Sometimes I further embellish with paper elements on the left side of the open card.
I often sign the back of the card with my initials. Now I’m done.
I hope that was easy to understand. One of the pictures was a bit fuzzy so I went ahead without it. If you have any questions, please ask below. The finished card was 4 1/4” x 5 1/2”.
Thanks for stopping by.
Blessings,
Carmen
What fabulous images, and accents, Carmen. love how you have ended up with a cohesive set of masculine cards
ReplyDeleteBlessings
Maxine
Thanks so much!
DeleteInteresting to read
ReplyDeleteThank you!
Delete